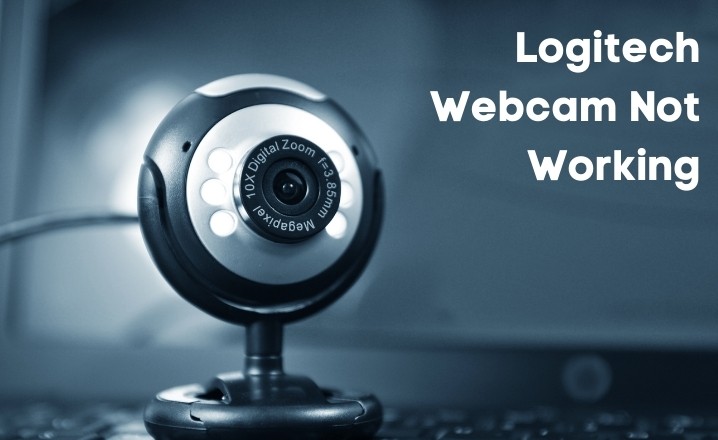
A Logitech webcam that’s not working can be a source of frustration for many users who have encountered this Issue. To our good fortune, there are a few different approaches that can be taken to solve the issue. This article will go over the different steps involved in fixing a Logitech webcam that’s not functioning properly.
From updating the driver to reverting to a previous version, the article will provide comprehensive instructions to help you get your webcam back to normal operation. Whether you’re a seasoned computer user or new to the tech world, this guide will be an invaluable resource in fixing your Logitech webcam.
How to Fix Logitech Camera Not Working Issue?
In order to resolve the issue of a Logitech camera not working on a device, the potential solutions have been listed below. It is suggested to go through each solution methodically to effectively fix the problem.
FIX 1: Check if the Camera is detected by the Windows System
Before attempting to resolve the issue of a Logitech camera not functioning, it is essential to confirm if the device recognizes the Camera. This step is imperative, even if you are using a built-in camera.
- Simply pressing the Windows key plus R will bring up the Run window.
- To access the Device Manager, type “devmgmt.msc” in the Run dialog box and press Enter or find it in the Start Menu.
- Look for the Imaging Devices submenu in the Device Manager window and open it using the black arrow.
- Check if the camera driver is listed in the Imaging Devices section.
- If the camera driver is not listed, go to the top of the Device Manager and click on the Action button.
- Select “Scan for hardware changes” to have Windows perform a fresh check for any hardware that may have been removed, added, or modified.
Once the previous steps have been completed, restart the device to check if the Logitech camera issue has been resolved. If the webcam continues to not work, examine if it is functioning properly. In most cases, a faulty webcam is to blame for the inability of the Logitech webcam to turn on.
Check Also: Fix Logitech K360 Not Working
FIX 2: Make some changes in the Settings Menu of Windows
If the problem is still not fixed after attempting the previous solution, check to see if the device allows applications access to the camera.
To accomplish this goal, the following steps can be taken in any order:
- Launch the Start Menu, then select Settings from the menu.
- Choose Privacy from the Context Menu that drops down.
- In the following window, on the left panel, select the Camera option to access that menu.
- If the “Let apps use my camera” option in the Camera section of the right panel is disabled, you can enable it by toggling its switch to the “on” position.
- Try restarting the system to see if this resolves the problem.
FIX 3: Check your Antivirus to block the Webcam application
It is possible that the webcam application is being prevented from running because you have a third-party antivirus program installed on your computer. In such a scenario, turning off the webcam security feature in the antivirus software is an easy solution to try.
- Start your computer’s antivirus software.
- Gain access to the menu for protecting your privacy.
- Find the Webcam Protection option and turn it off.
- Reboot the machine to determine if the Issue has been resolved.
FIX 4: Update the Webcam Driver
According to experts, there are several methods to modify the webcam driver to resolve the issue. The steps to do so are described below.
Update the Driver Manually
To update the Logitech webcam driver manually, the following steps should be taken:
Visit Logitech’s official website and download the latest version of the driver for your product.
- Open the Device Manager either through the Start Menu or by using the Run dialogue box (pressing Windows key + R and typing “devmgmt. msc“).
- Within the Device Manager, expand the section labeled “Imaging Devices.”
- Locate the Logitech webcam, right-click on it, and select the “Update driver” option from the menu that appears.
- Select the driver file that was most recently downloaded from the Logitech website using the “Browse my computer for driver software” option and then make your selection.
- After clicking the Next button to install the driver, you will need to restart your computer before checking to see if the problem has been fixed.
Update the Driver Automatically
If you feel that the previous steps are complicated, you can let Windows handle the update of the driver for you.
- Begin by accessing the Device Manager from the Start Menu or by opening the Run dialogue box with the Windows key + R and typing “devmgmt. msc”.
- Expand the Imaging Devices section by clicking on the black arrow.
- When you right-click on the Logitech webcam, you will see a context menu. From this menu, select “Update driver.”
- In the following window, select the option to “Search automatically for updated driver software.”
- After that, Windows will search for and install any available updates automatically.
- To ensure that the modifications take effect and to check if the issue with the Logitech webcam has been fixed, you will need to restart the computer.
FIX 5: Reinstall the Logitech Driver
If the problem with the Logitech webcam continues to exist even after updating the driver to the most recent version, it is possible that it will be necessary to uninstall the driver and then reinstall it. To resolve the Logitech Webcam Not Working Issue, you may have to remove and reinstall the driver. Here are the steps to follow:
- You can launch the Device Manager by doing a search for it in the Start Menu or by pressing the Windows key in combination with the letter R to open the Run dialogue box and typing “devmgmt.msc” in it.
- Locate the section labeled “Imaging Devices,” then click the button labeled “black arrow” to expand it.
- Find the Logitech webcam in the list, right-click on it, and then select “Uninstall” from the menu that appears. Performing this action will result in the driver being completely removed from the device.
- After the driver has been removed, it is necessary to restart your computer.
- Go back to the Device Manager, select the Action option from the top of the screen, and choose “Scan for hardware changes.” Windows will detect the hardware and install the appropriate driver.
FIX 6: Roll back to the Previous version of the Logitech Driver
If you are encountering issues with the latest version of the Logitech driver, some users have reported that reverting to an earlier version can resolve the problem.
- Launch the Device Manager.
- Simply clicking on the button will expand the section on Imaging Devices.
- After that, select Properties from the context menu that appears after you right-click the Logitech webcam.
- Navigate to the Driver tab, then select the “Roll Back Driver” option from the drop-down menu.
- Confirm by clicking Yes and restarting the device to complete the process.
Final Words
Fixing a Logitech webcam that’s not working can be a challenging task, but with the right solutions, it is possible to get the webcam back to normal operation. The various solutions outlined in this article, ranging from checking if the Camera is detected by the Windows system to rolling back to a previous version of the Logitech driver, provide comprehensive instructions to help you resolve the Issue.


