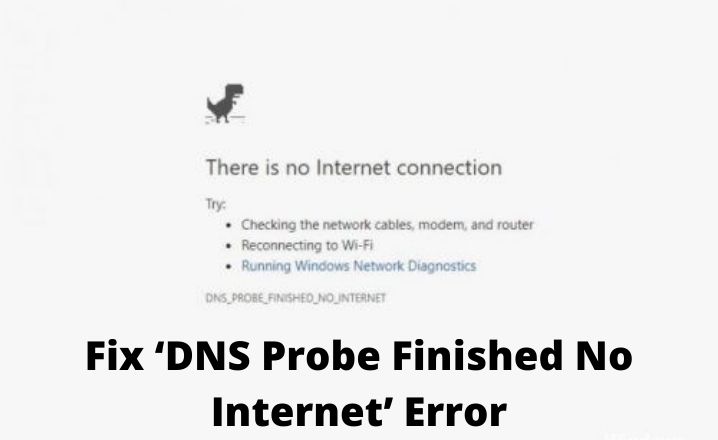
So recently, while trying to search the internet, I got the “DNS Probe Finished No Internet.” Online support was not too much, but after trying multiple methods to solve the problem, I realized it was a DNS server error of my own.
For me, this was a DNS problem and I just corrected the dns probe finished bad config by changing the DNS servers that were automatically collected to open DNS. However, the situation could be different and some other approaches may have to be tried. This is why, on your Windows 7,8, and 10 machines, I will list all solutions offered by myself and other experts.
How do I fix DNS_PROBE_FINISHED_NO_INTERNET issue on
Windows 10 / 8 / 7 / XP ?
The steps to be taken would be slightly different, depending on the OS version you are using. Please save our actual settings before proceeding with the following steps when you use an internet router.
Solution 1: Using Command Prompt
You can remove the error by simply using a command line.
- First, by typing cmd in a search box of windows and pressing enter, open the windows command prompt. Then enter cmd and press Enter.
- You can also use these shortcut keys “Windows Key + R.” It will open the command prompt, then enter or copy the following code when you have opened it.
- Enter “netsh winsock reset” command.
- Click Enter now and reboot your machine. It will fix the problem, hopefully.
If the above-mentioned command line does not resolve the problem, the link problem may also be caused by your IP address.
- Restart command prompt and type /release in ipconfig, and enter hit.
- Type ipconfig /renew once again and press enter once more.
Make sure there is a space between ipconfig and forward slash.
- Now we are flushing the DNS, which could be your solution. Restart command prompt and type in ipconfig /flushdns and hit enter.
- Once you have run all the commands given above, restart your computer.
Solution 2: Change DNS Address to Open DNS
It worked very well for me. All I do is update my DNS server addresses automatically from my PC to Open DNS.
- Right-click on the Windows Task Bar network icon to click on the ‘Network and Sharing Center‘ button.
- Then see the ‘Local Area Connection’ button, then click on ‘Properties’ from the new window.
- Then select ‘Properties’ and select ‘Internet Protocol version 4.’
- Choose the radio button in the new window to ‘Use the following server addresses’ and then press the ‘Complete setup settings when you exit’ box in the desired DNS server box in 208.67.222.222 and the alternative DNS server box in 208.67.220.220 and click OK in the next window.
This will update the DNS server addresses of your computers to Open DNS, which is one of the most reliable free DNS servers. Otherwise, you can choose from this list some other favorite free public DNS servers. Now try loading the error webpages to see if it has been fixed. If you don’t use this form, switch to solution 3.
Solution 3: Clear browser cache and Reinstall your browser
- Clearing Chrome cache – Click on the Specify and Check button in the top right corner to clear the cache in Google’s Chrome browser then click Settings. Tap Display Advanced Settings and scroll down. Tap Clear Browsing Data under the privacy section. Check the Cached Pictures and Files box in the new window to display cookies and other sites and plugin data after clicking Clear Browser Data.
- Clearing Firefox cache – Click on History to clear the recent history of the cache in Mozilla Firefox. Then click on the information. From there, check cookies and cache and press Clear now.
It is also possible to reinstall the browser to see if the problem is solved. Another choice is to install a new browser you haven’t used. Just like Opera or Safari.
Solution 4: Reboot, Reset Or Change Settings Of Your Router Or Modem
Reboot from the settings of your router. Use the following URLs for different routers to access your router settings. The username and password default for this is: admin
- TP-link – http://192.168.0.1
- Linksys – http://192.168.1.1
- 3Com – http://192.168.1.1
- D-Link – http://192.168.0.1
- Belkin – http://192.168.2.1
- Netgear – http://192.168.0.1.
- Micromax – http://192.168.10.1
After you log into System Tools > Press the Reboot button. You’ll need to boot.
Unplug and leave your router for at least 5 minutes to power cycle your router and plug it in again. Wait until the router starts fully and attempt to load the site.
Solution 5: Check Firewall and Internet Security Settings
You may also block those Websites for security reasons through your firewall or internet security program. Ensure the firewall and internet safety program settings are checked and whether they cause the problem. Be careful, too, that your firewall inadvertently does not block your malicious website.
Conclusion
I hope that these above solutions will solve DNS Probe Finished No Internet problem with the DNS test error. But if all the above solutions are tried, please comment below and I will try to help you with other solutions. Even if it helped, please comment below.
FAQs
How do you fix a DNS Error?
Go into your network settings, select the network and change the DNS to Open DNS or Google DNS.
How do I fix the DNS probe finished no Internet in Windows 10?
This is a DNS-related problem. If Due to Some Issue DNS fails to Translate host to IP or IP to host this will Result in No internet Connection — dns_probe_finished_no_internet.
How do I fix DNS Probe Finished No Internet?
Fix ‘DNS Probe Finished No Internet’ Error by digging deep inside our article.


