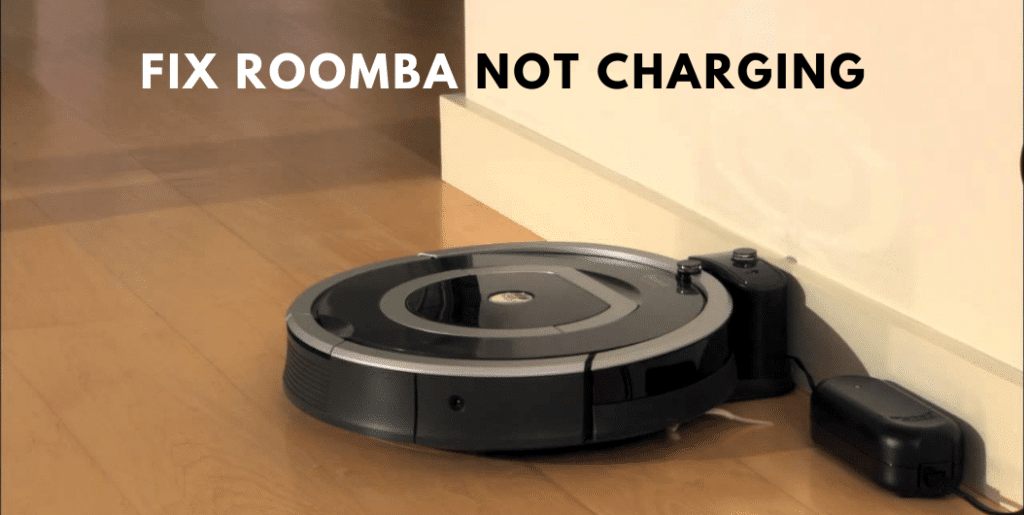
There are a few reasons why your Roomba might not be charging. Here are some of the most common reasons:
- The Roomba is not plugged in correctly.
- The outlet is not working.
- The Roomba’s battery is dead.
- The Roomba’s charging contacts are dirty.
- The Roomba’s charging base is dirty.
- The Roomba is not placed correctly on the charging base.
- The Roomba is not compatible with the charging base.
- The Roomba’s charging base is damaged.
- The Roomba’s battery is defective.
What if The Light isn’t Turned On?
Then try charging your Roomba in a separate outlet while simultaneously testing the charger or Home Baseline cord for damage. If the current Home Base still won’t switch on, try a different one.
Roomba Not Charging – 8 Steps To Fix It
1. Clean charging contact points
- Unplug the Base and wait 60 seconds.
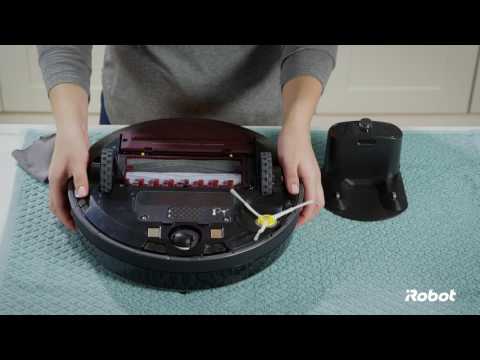
- Remove the robot from the charging station and place the robot upside down on a flat surface.
- Grab a lightly dampened melamine foam such as a Magic Eraser, or a lightly dampened cloth.
- Clean the charging contacts on your robot. They should have a visible shine.
Warning: Before cleaning the Home Base’s contact points, disconnect it. This will keep you safe from electric shocks as you clean.
2. Clean the caster wheel
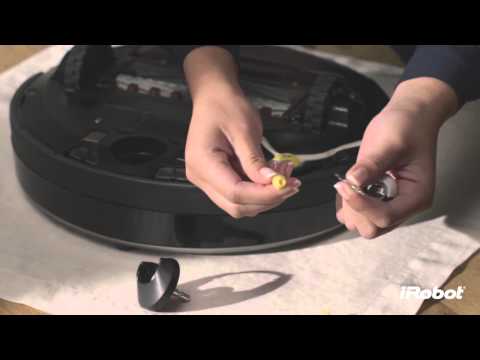
- Pull the caster wheel firmly: To clean the front caster wheel, start by turning your Roomba upside down, and then pull on the caster wheel firmly to remove it from the robot.
- Remove the wheel from its housing and clean it: Spin the wheel manually. If it resists smooth rotation, extract it from the structure and clear any trapped particles within the wheel void.
- Remove the axle: With the wheel separated from the structure, apply pressure to dislodge and completely extract the axle from the wheel. Clear any trapped debris or entwined hair from the axle.
- Wipe the wheel, axle, and housing clean: Use a gentle cloth or a cotton swab to erase any grime or dust from the wheel, axle, and structure. If necessary, a small quantity of rubbing alcohol can be used.
- Clean the front wheel cavity: Using a vacuum or compressed air can remove any dust or debris from the front wheel cavity on the robot.
- Reinstall the front caster wheel: Slide the axle back into the wheel, ensuring the axle securely locks on both sides. Following that, position the wheel back into its structure, ensuring a secure click into place.
Tip: Manually spin the wheel. If it is hardly moving, there is still some debris attached to it. Ensure that any dust that has accumulated on it is removed.
3. Replug the unit into a different outlet
- Unplug your Roomba from the current outlet: Make sure you disconnect the power cord from both the outlet and the charging base or cable.
- Find another outlet that works: You can test the outlet by plugging something else into it and seeing if it turns on. If it doesn’t, then the outlet is faulty and you should try another one.
- Plug your Roomba into the new outlet: Connect the power cord to both the outlet and the charging base or cable. Make sure the connections are secure and not loose.
- Check if your Roomba is charging: You should see a light on your Roomba or the charging base indicating that it is charging. If you don’t see any light, then there may be another problem with your Roomba or the power cord.
4. Remove the Battery pull tab
If this is the first time you’ve used a Roomba, here’s how to remove the pull tab:
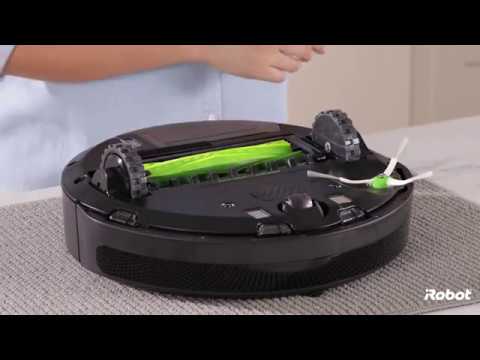
- Flip the Roomba unit upside down.
- Look for the yellow pull tab.
- Then completely pull it off.
Once removed, your unit should have no problem while charging.
5. Reposition the Battery
To inspect and adjust the Roomba battery, follow these steps:
- Turn over your robot and, using a screwdriver, loosen the Edge sweeping brush screw.
- Remove the screws and lift the cover to expose the battery.
- Unclip the original battery to remove it from the robot.
- Reposition the battery in the slot.
- Replace the bottom cover and tighten the screws into place.
- Tighten the screw on the Edge sweeping brush screw.
Note: If you have a Roomba 700 series or upper, you just have to unscrew the battery compartment.
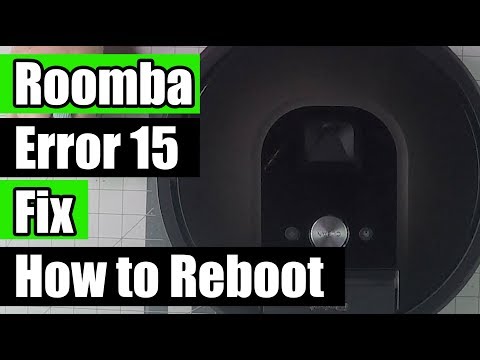
6. Reboot the Roomba unit
- Identify your Roomba model: Different models have different methods of rebooting. You can find your model number on the bottom of your robot or on the box it came in.
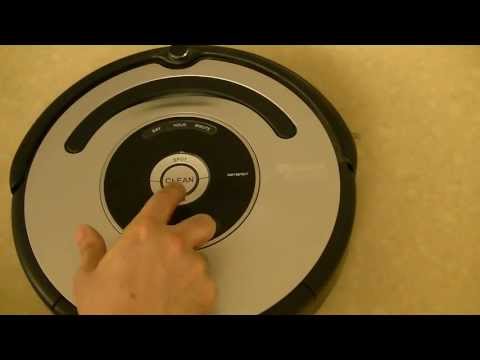
- Press and hold the appropriate buttons for your model: For Roomba i7 or i3, press and hold the CLEAN button for 10 seconds until the light ring swirls in a clockwise direction. For Roomba S and I series, press and hold the CLEAN button for about 20 seconds until the light ring around the bin lid glows white. For Roomba Combo, open the lid and press the “Reset” button for 10 seconds. For Roomba with the Dock and Spot buttons, press and hold HOME and SPOT Clean buttons on your robot for 10 seconds.
- Wait for the reboot tone: When you release the buttons, your Roomba will play a tone to indicate that it has been rebooted. It may take up to a minute and a half for your robot to turn on.
- Check if your Roomba is working properly: After rebooting, your Roomba should resume its normal functions. If you have any scheduled cleaning times or Wi-Fi settings, you may need to re-enter them.
Note: Rebooting the Roomba will reset the program and remove any temporary data. However, it will not destroy your schedule information or intelligent mapping.
7. Reset the Roomba battery
To reset a Roomba 600 series battery:
- Remove the battery from its case.
- Press and hold the “Clean” button for 5-15 seconds.
- Put the battery back in.
- And charge it for 16 hours straight until the green indicator light turns on.
To reset a Roomba 700 series battery:
- Pug in the Roomba unit.
- Press and hold the “Clean” button until the blue text “r 5 t” is displayed.
- Let the unit turn itself off, and wait for the reset tone.
- And charge it for 16 hours straight.
Tip: Charge your Roomba straight from the power source for optimal performance. You may utilize the cord that is included with the Home Base.
8. Factory reset the unit
Tip: If you’re certain you want to factory reset your device, make a backup beforehand.
There are two methods for factory resetting your Roomba. Either via the iRobot Home app or directly from the device.
To factory reset Roomba using the iRobot Home App, follow these steps:
- Go to iRobot Home App.
- Proceed to “Settings.”
- Select “Remove/Factory Reset“.
- And then click on the robot name of your unit.
To do a factory reset via the Roomba unit itself, it is necessary to consider the series of your unit.
How to factory reset a Roomba is determined by its series:
For the a and I series
All three buttons “Home,” “Spot Clean,” and “Clean” should be pressed simultaneously. Continue holding it until the white color appears in the light ring.
For the j-series
Remove the dustbin from the unit first. Then, for 7 seconds, press and hold the “Clean” button. Once you hear the reset tone, release. After that, complete the operation by clicking the “Clean” button one more.
In the e-series
All three buttons “Home,” “Spot Clean,” and “Clean” should be pressed simultaneously. Maintain it for around 20 seconds. After that, release.
For the 900 series
All three buttons “Dock,” “Spot Clean,” and “Clean” should be pressed simultaneously. Maintain this position until all of the button indicator lights illuminate.
For Wi-Fi-enabled 600 and 800 series
All three buttons “Dock,” “Spot Clean,” and “Clean” should be pressed simultaneously. Maintain this position until you hear a beep tone.
For Roomba combo
Locate the “Reset” button by opening the unit’s lid. For ten seconds, press and hold the reset button.
Is it possible to change the battery in a Roomba?
Yes, it is possible to change the battery in a Roomba. The battery replacement procedure may vary depending on your Roomba model. Here are the steps according to one of the search results for Roomba with the CLEAN button:
- Open your Roomba: Place the Roomba on its back and fully loosen the four (4) bottom screws. Don’t remove them completely; they’re permanently attached to the cover.
- Remove the old battery: There are two tabs on the old battery. Press them both and pull out the battery.
- Install the new battery: The new battery should be identical to the old one. Slide it into place until it clicks.
- Reassemble everything: Put the cover back on and tighten the four (4) screws.
How long will a Roomba battery last?
With proper care, your robot’s battery should last at least 2-3 years before it needs to be replaced. However, this may vary depending on your usage and cleaning habits.
FAQs
What is the best way to tell if my Roomba is charging?
To check the charging status, look at the LED indication on the CLEAN button.
The battery is completely depleted when it is solid red.
Charging is in progress, as shown by the flashing amber.
Green indicates that the charging process is complete.
The 16-hour charging option is also indicated by a rapidly pulsing amber light.How do you tell when your Roomba’s battery needs to be replaced?
The battery drains abnormally quickly, like within minutes of normal use.
After leaving the dock, the Roomba can only operate for 15 to 20 minutes.
The power light doesn’t even flash.
The performance of the Roomba is unaffected by a soft or hard restart.When the Roomba is charging, does the base light stay on?
To save energy, the Roomba base light flashes for around four seconds before turning off altogether.

