One of the most convenient ways of transferring data from one device to another is through compressed files, also called .zip files. This might have happened with you as well that while sending several attachments through email, you have most likely zipped your files. I have done it and not only that, I also password protect them since I often have to share my laptop with others in which case, keeping my documents and files confidential is extremely essential. Zipping compresses files, but you can also lock them to keep them extra secure from prying eyes. Today’s guide will show you how to password-protect ZIP files, and how to secure your data by making use of all the best tools possible before sending them to anyone before that let’s get into the details of what exactly is a ZIP file.
Key Takeaways
- If you are sending private information, pictures, videos, or any sort of data, password-protecting zip files are potentially the best way to ensure safety. It also protects your files in case your computer is hacked or infected with malware.
- While password protecting a file in Windows 10, the steps can be unnecessarily long and complicated, hence a suggested faster way is to use compression software WinZip
- Another easy way is to right-click on the zip file you want to encrypt and select the Advanced options followed by checking the box “Encrypt content to secure data” and finally close the Advanced Attributes windows by clicking on OK.
What is a password-protected zip file?
Wondering what exactly is a password-protected zip file? Let’s get into the depth of every individual word in this phrase. ‘Password protected’ tells you that the sender has secured a particular file with the help of a password and the procedure used to protect files is called file encryption further transforming it into unreadable cyphertext. Whereas Zip is a file format that supports lossless data compression and usually takes up comparatively less storage.
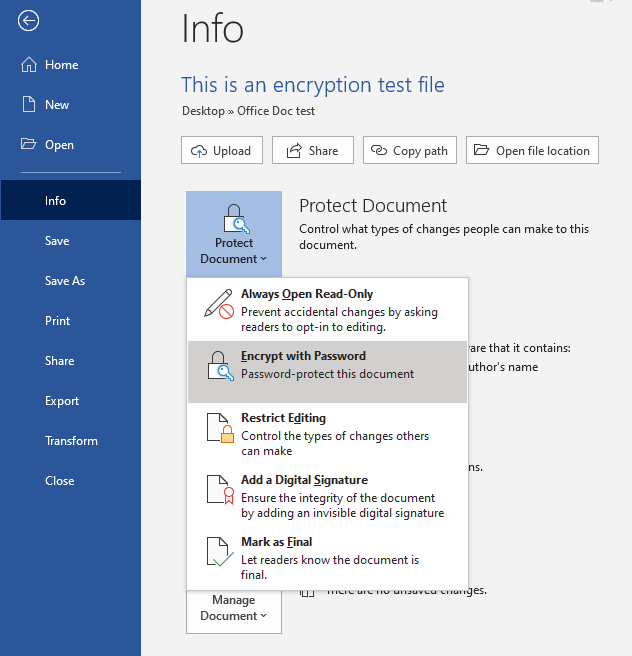
(Quick Tip: in Windows 8 and Windows 10 respectively, it is not possible to password-protect a folder. Hence, you will be required to download third-party software from a reputable and reliable source or use a zipped folder)
Methods to follow to password protect a .zip file
Solution 1: In Windows 10 and macOS

- Go to WinZip
- In the Actions pane, click on Encrypt
- To the center, NewZip.zip pane, drag and drop your desired files
- A dialogue box will appear, here entire a secure password
- Click on OK
- In the Actions pane, click on the Options tab followed by the Encryptions setting
- After setting the required level of encryption, click on Save.
Solution 2: Built-in Windows Encryption

- Go to Folder/files and right-click on it
- Tap on Send to and select Compressed(Zipped folder)
- You will notice a zipped file is created alongside the file
- Right on this zipped file and select Properties
- Located under the category of General, select Advanced
- Under the Compressed or Encrypt attributes, check to Encrypt contents to secure data which will enable encryption
- Click on OK and select Apply
- On the Encryption warning window, select the recommended Encrypt file and parent folder
- Select OK
- Select OK to choose the Properties window
(This solution works on Education, Enterprise, and Pro versions of Windows)
Solution 3: Using the third-party app “WinRAR”

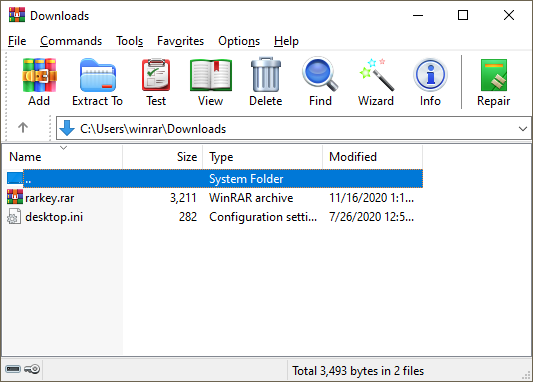
- Open the .zip file with WinRAR
- Situated on the top left corner of the WinRAR window, from Menu, select Tools
- Select Convert Archives. (In order to access this feature quicker, you can also use Alt+Q.)
- You will notice a pop-up window appear on the screen, here click on the Compression button.
- Select Set Password
- Type the desired password then re-enter the password for verification
- Click OK
- A new window with the message “Are you sure you want to encrypt converted archives?” will appear, click OK.
- Finally, click Close and now you will be able to share this password-protected .zip file with anybody you would like.
Solution 4: Using third-party app “7-Zip”

- First, start by selecting the desired files you would want to include in your .zip archive
- Right-click followed by selecting 7-Zip which will expand another menu
- Choose the Add to archive option
- In the Encryption field, fill in the required data. Type in the password and re-enter for further verification
- Click OK and now you will have a password-protected .zip archive.
Final thoughts
In a single transfer, you can practically pack several gigabytes of files into a single space and because of its essential use, I personally prefer protecting the .zip files with a password to make sure only those with permission can unpack the contents. This article provides the easiest and the handiest methods you will need to password-protect your .zip files and in case you face further issues while following the given solutions, do not hesitate to leave it in the comment section below.
FAQs-
Why Password Protection isn’t the same as encryption?
In this case, exclusively authorized users with the password will be able to access the desired information along with password protection whereas in encryption communications are hidden and can be accessed by authorized employees.
What are some of the common issues faced while zipping files and adding password protection?
Several reasons may be the cause of this for example file corruption, an incomplete download or damage caused due to exposure to magnetic fields and high temperatures or even mechanical shocks.
Why can’t I password-protect my zip file?
Windows don’t often provide you with the option of password-protecting your zipped file so you can rather choose from other software options like WinZip, WinRaR etc.
How to open a password-protected zip file?
Two methods can be used to open a zip file, the graphical method or the command line method both of which would require you to enter your password for decompression.

