A simple way to fix FN_LIST_CORRUPT BSOD is by Updating Windows to the latest version.
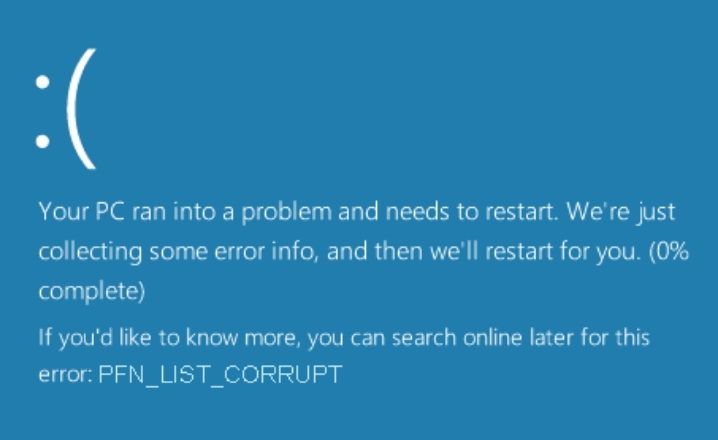
PFN_LIST_CORRUPT is a blue screen error that indicates data corruption in the Page Frame Number (PFN) list, which represents the physical memory pages of your Windows system.
It could be caused by faulty hardware, related driver software failure, or system damage.
5 Ways To Fix PFN_LIST_CORRUPT BSOD in Windows 10/11
- Update Windows 10/11 and your drivers to the latest versions. This can resolve any hardware or software issues that might be causing the error.
- Use a built-in tool called Windows Memory Diagnostic to check your RAM for faults. To do this, type memory in the search box and select Windows Memory Diagnostic. Then choose Restart now and check for problems. Your PC will reboot and run a memory test.
- Repair and restore any corrupt system files using the System File Checker (SFC) and Deployment Image Servicing and Management (DISM) tools. To do this, open Command Prompt as an administrator and type sfc /scannow and press Enter. Wait for the scan to complete and then type DISM /Online /Cleanup-Image /RestoreHealth and press Enter. Wait for the process to finish and then restart your PC.
- Uninstall any problematic third-party applications that might be triggering the error. You can do this manually from the Control Panel or use one of the best uninstaller software.
- Turn on Driver Verifier, a tool that can help you identify any faulty drivers that might be causing the error. To do this, open Command Prompt as an administrator and type verifier and press Enter. Then follow the instructions on the screen to select the drivers you want to verify. Restart your PC and wait for it to crash three times. Then turn off Driver Verifier by typing verifier /reset in Command Prompt and press Enter. Check the minidump files for any clues about the faulty drivers.
