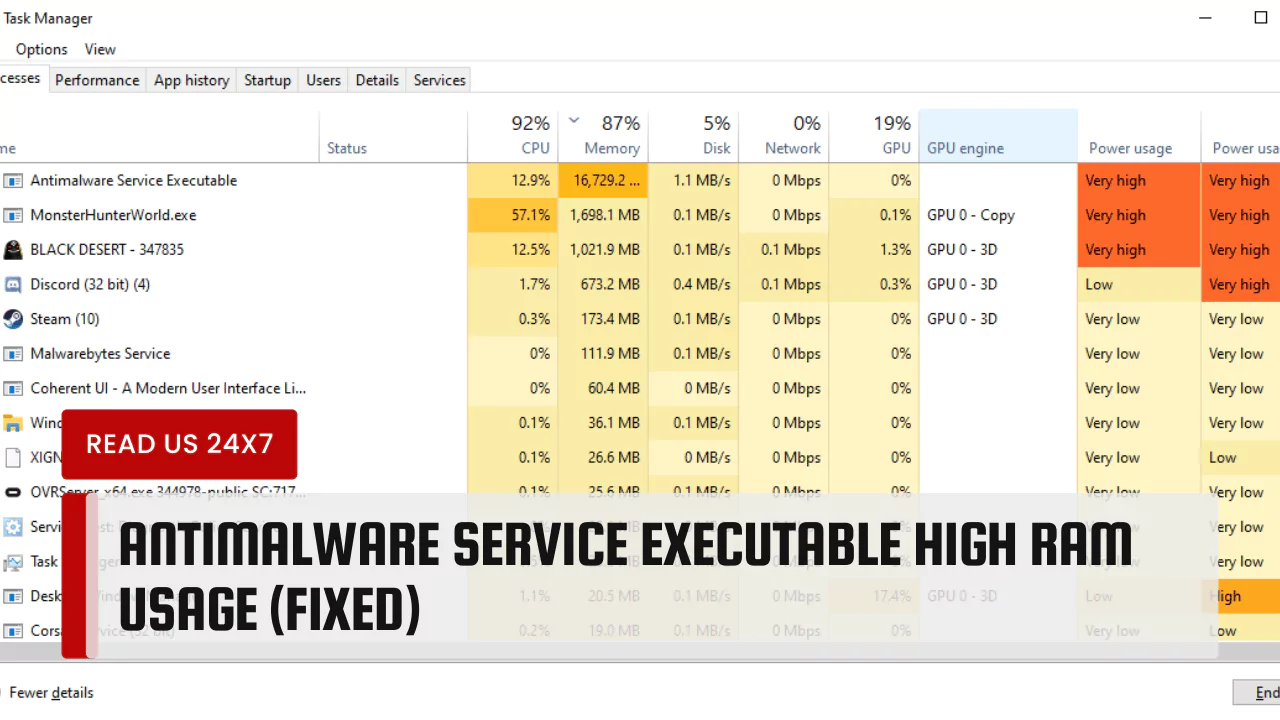
The Antimalware Service Executable process protects your computer from viruses and malware but can consume a significant amount of RAM, slowing down your system. Understanding the causes of high RAM usage and implementing fixes is essential to maintaining optimal performance.
Understanding Antimalware Service Executable
What is it?
Antimalware Service Executable is a core process behind Windows Defender, your computer’s built-in antivirus software. It constantly monitors your system for threats, scanning files and programs in real time to ensure your safety.
How Does it Work?
Antimalware Service Executable works in the background, checking files you download, websites you visit, and programs you run. It compares these against a database of known threats and takes action if it finds anything suspicious. This ongoing vigilance requires some system resources, including RAM.
Causes of High RAM Usage by Antimalware Service Executable
There are several reasons why Antimalware Service Executable might be hogging your RAM:
- Malware infections: If your system is infected with malware, Antimalware Service Executable will go into overdrive trying to identify and remove the threats. This can lead to a spike in RAM usage.
- Outdated Windows Defender definitions: Outdated virus definitions make it harder for Windows Defender to accurately identify threats. It may consume more RAM as it struggles to scan files effectively.
- Scanning unnecessary folders: Antimalware Service Executable scans all your files by default. If it’s scanning folders you know are safe, it’s wasting resources.
- High CPU limit in Group Policy: Group Policy settings can limit the CPU resources available to Antimalware Service Executable. This can force it to use more RAM to compensate.
- Other factors: In rare cases, corrupted system files, driver issues, or conflicting software can also contribute to high RAM usage.
6 Ways to Fix High RAM Usage by Antimalware Service Executable
Here are six ways to get Antimalware Service Executable under control and free up some RAM:
1. Run a Manual Scan and use Malwarebytes
Before diving deeper, run a full system scan with Windows Defender. If it finds malware, removing it should alleviate the RAM strain. Consider using a reputable third-party antivirus program like Malwarebytes for a second opinion.
- Open Windows Security using Windows Search.
- Select Virus & Threat Protection.
- Under Quick Scan, select Scan options.
- Choose Full Scan and click on Scan Now.
- Consider installing Malwarebytes to detect and remove malware that Windows Defender might miss.
2. Turn Off and On Real-time Protection
We have a quick solution to your problem. Temporarily disable real-time protection in Windows Security, but remember to reactivate it after troubleshooting.
- Go to Windows Security > Virus & Threat Protection > Manage settings.
- Turn off the toggle below Real-time protection.
- Wait a few moments, then turn it back on.
3. Change Windows Defender’s Schedule
You can schedule scans for times when you’re not actively using your computer. This way, Antimalware Service Executable won’t compete for resources during peak usage periods.
- Open Task Scheduler from the Start Menu.
- Navigate to Task Scheduler Library > Microsoft > Windows > Windows Defender.
- Find and right-click on Windows Defender Scheduled Scan.
- Choose Properties, then go to the Triggers tab.
- Edit the schedule to a time when you’re less likely to use your PC.
4. Exclude Folders from Scans
If you’re confident certain folders are safe (like your personal documents or downloaded games), you can exclude them from Windows Defender scans. This reduces the workload on Antimalware Service Executable.
To exclude folders from scans by the Antimalware Service Executable, follow these steps:
- Open Windows Security by searching for it in the Start Menu.
- Click on Virus & Threat Protection.
- Under Virus & Threat Protection settings, click on Manage settings.
- Scroll down to Exclusions and click on Add or Remove Exclusions.
- Click on Add an Exclusion, then select Folder.
5. Limit CPU Usage in Group Policy (Advanced Users)
If you’re comfortable with Group Policy Editor, you can adjust the CPU limit for Antimalware Service Executable. However, proceed with caution as improper settings can affect system security.
- Press Windows Key + R to open the Run dialog box.
- Type gpedit.msc and press Enter to open the Local Group Policy Editor.
- Navigate to: Computer Configuration -> Administrative Templates -> Windows Components -> Microsoft Defender Antivirus -> Scan.
- On the right pane, double-click on the Specify the maximum percentage of CPU utilization during a scan policy.
- Select the Enabled option.
- In the options area, you can limit the CPU usage of Windows Defender to a specific percentage. For example, if you want to limit it to 30%, enter 30 into the provided field.
- Click Apply and then OK.
- Restart your computer to apply the changes.
6. Add MsMpEng.exe to Exclusion List
- Open Windows Security and go to Virus & Threat Protection.
- Under Virus & Threat Protection settings, select Manage settings.
- Scroll down to Exclusions and click on Add or Remove Exclusions.
- Click on Add an Exclusion, select Process, and type MsMpEng.exe.
By following these steps, you should be able to identify the cause of high RAM usage by Antimalware Service Executable and take steps to bring it under control. Remember, a healthy balance between security and performance is key. If you’re unsure about any step, consult a tech professional for assistance.


