PlayerUnknown’s Battlegrounds is a multiplayer online game in which players are dropped on an island and must scavenge for weapons while avoiding being killed by other players. With the passage of time, the playing field shrinks, and the last one standing wins.
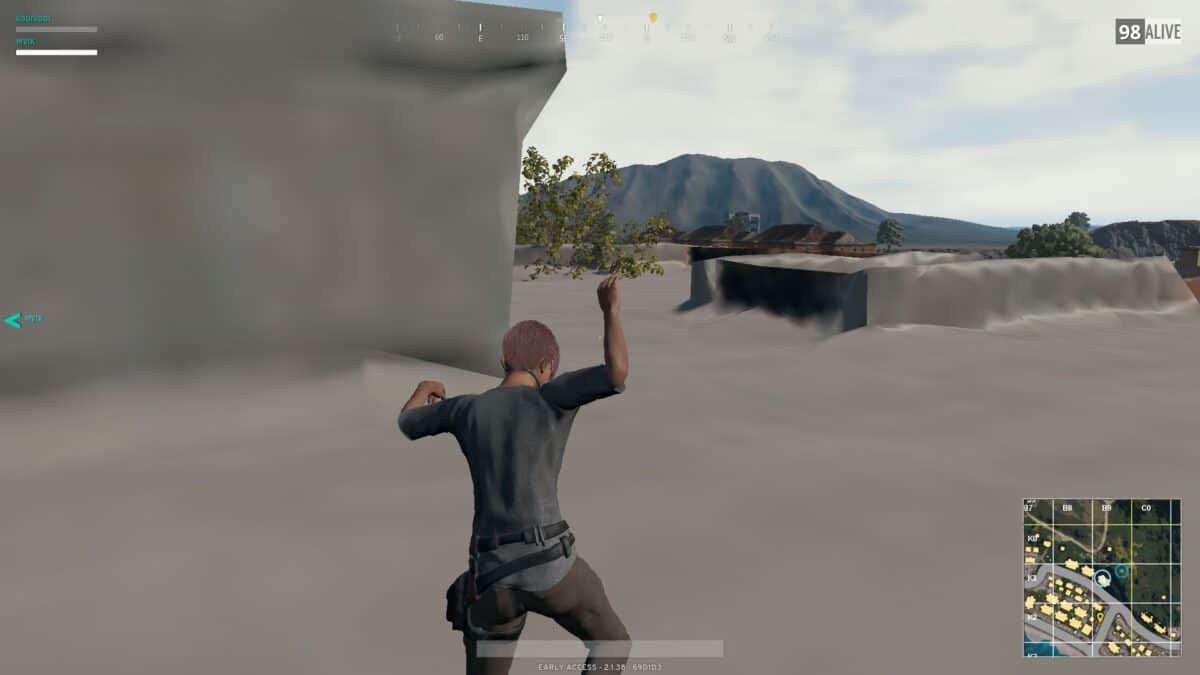
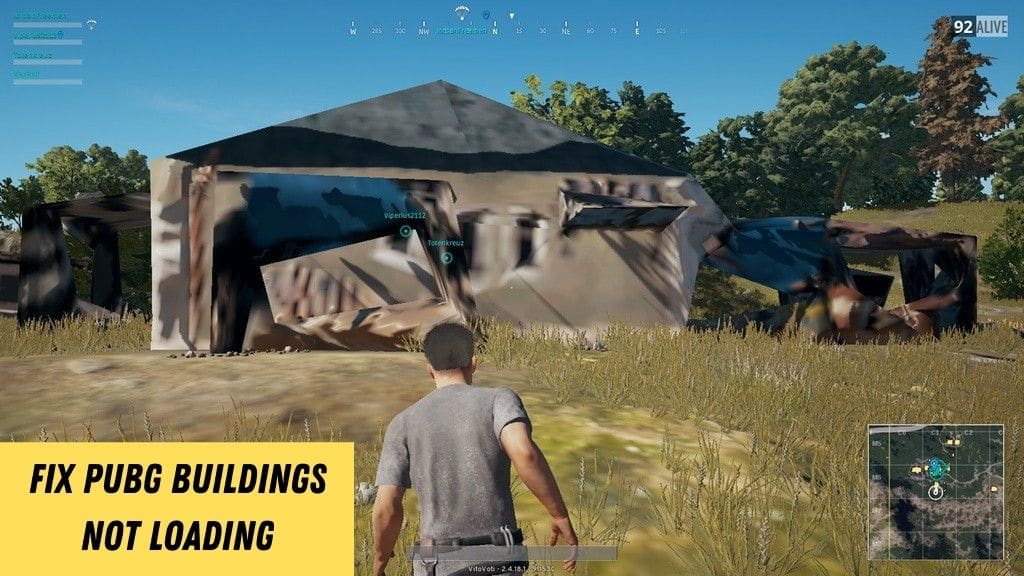
Since the game’s release in 2017, one of the most frustrating things about PUBG is that buildings and other objects simply don’t render. However, fortunately, this issue can be fixed easily. The most common fix is to update your graphics driver, and you may even be able to fix it by uninstalling and reinstalling PUBG. But if these solutions don’t work, you should consider purchasing a new computer to resolve the problem.
Why are PUBG Buildings Not Loading?

Buildings are crucial in PUBG because they house the treasure that players must obtain in order to combat other players. As a result, when buildings don’t load properly, it’s impossible for players to enter and grab loot. But why is this the case?
This rendering issue happens when your hard drive’s read operation is slow or your RAM is insufficient to correctly load all of the game’s resources. A powerful GPU can easily accomplish numerous functions in the game compared to a low-end card, therefore graphical settings have a part here as well.
Whatever the cause, the good news is that this issue can be quickly resolved by making a few adjustments to your computer. So let’s get this party started!
Methods for Resolving the PUBG Buildings Not Loading Problem
Here is a list of remedies that have shown to be beneficial to a large number of players. You may not need to try all of them; simply start at the top and work your way down until you discover one that works for you.
Solution #1: Disable NVIDIA ShadowPlay
If you have an Nvidia graphics card, this will be the simplest and most effective solution for you. Simply follow these procedures to turn off Nvidia ShadowPlay:
Step 1: Log in as an administrator to Nvidia GeForce Experience.
Step 2: On the left side of the screen, select the General tab.
Step 3: In the right panel, locate and disable the SHARE feature (ShadowPlay is also known as Share).
Step 4: Exit Nvidia GeForce Experience after saving your adjustments.
Now restart your computer and relaunch PUBG to test whether the structures are properly loading.
Solution #2: Render your game ahead of time
Pre-rendering the game is another good technique to fix the PUBG buildings not loading issue. We must trick the game into rendering numerous objects, materials, and textures before landing by pre-rendering.
Although the procedure appears to be complicated, it is simple to carry out. However, the bothersome part is that you’ll have to do it every time you start the game. Here’s how to render PUBG in advance:
Step 1: Press and hold the ‘W’ key as soon as the game begins.
Step 2: While still pressing the ‘W’ key, press the ‘Tab’ key as the parachute pulls out.
Step 3: Your game will freeze for a while as an inventory panel appears. When it unfreezes, all of the textures and structures will be perfectly loaded.
Check Also: LOOT Not Detecting Skyrim
Solution #3: In the game files, change the View Distance
Modifying the view distance is another option to fix the PUBG rendering issue. This strategy may not be suitable for everyone, but it can be useful at times. In the game, the view distance 1 translates to a slower render time. You can increase the render time by changing this to ‘2’. This is what you must do:
Step 1: Take the path outlined below:
GameUserSettings.ini AppDataLocalTslGameSavedConfigWindowsNoEditor
Step 2: Double-click the file to open it.
Step 3: Go to ViewDistanceQuality=1 and search for it.
Change the number to two in step four.
Step 5: Make a backup of the file.
When you start your game, the structures in PUBG should load flawlessly.
Solution #4: Make sure your graphics driver is up to date
An outdated graphics driver can also wreak havoc on the game, preventing structures and textures from loading in PUBG. This problem can be resolved by updating the graphics driver.
Simply go to the website of the manufacturer of your graphics card (Nvidia, AMD, or Intel) and download and install the most recent driver for your model. Check to see if the driver is compatible with your Windows version.
After installing the driver, restart your computer and relaunch PUBG to see if the issue has been resolved.
Solution #5: Uninstall and reinstall PUBG
Occasionally, an error will occur during the installation of the game files. In PUBG, this issue may prevent the buildings from loading. If none of the other ways work, try uninstalling and then reinstalling the game to resolve the issue.
Don’t worry if the issue persists even after reinstalling PUBG. There are two additional fixes to attempt.
Solution #6: Increase the amount of physical RAM in your computer
If you don’t have enough RAM, the game may skip some resources, such as buildings and textures, in order to preserve space and keep the game running. You’re likely to run into issues if your RAM is less than 8GB, which is the minimum needed for playing PUBG. In that scenario, your only option is to purchase a new memory stick and insert it into your computer.
By pressing Win + PauseBreak, you can see how much RAM your computer presently has. Then, in Command Prompt, use the command “wmicmemphysical get maxcapacity” to see how much RAM your system can support. Then, insert an appropriate memory stick into your computer and test if the game plays smoothly and without errors.
Solution #7: Install your game on a solid-state drive (SSD)
There are a lot of resources in PUBG that need to be accessed rapidly. This can be aided by transferring your game to an SSD. This is because SSDs have a faster access time and are more responsive than traditional hard drives.
To transfer your game files to an SSD, follow these steps:
Step 1: Connect your SSD to your computer first, then open the Steam client.
Step 2: Select Settings from the Steam menu at the upper left of the screen.
Step 3: Next, go to the left navigation pane and click on the Downloads tab, then STEAM LIBRARY FOLDERS on the right side.
Step 4: In the bottom left corner, click ADD LIBRARY FOLDER to create a new folder on your SSD.
Step 5: When you’re finished, quit the settings and go to the Steam client’s top menu bar and select LIBRARY.
Step 6: In the settings, right-click on PUBG and select Properties.
Step 7: Select MOVE INSTALL FOLDER from the LOCAL FILES menu.
Step 8: Allow Steam to move the installation folder to the SSD directory you added to your library.


