Are you tired of making bow knots that look like a hot mess? Tying a cute bow with ribbon is one of the simplest and most elegant finishing touches you can add to your gift wrapping or any other craft project. Let’s learn how to create those perfect bows that will take your projects to the next level!
Learning to tie a bow with a ribbon can be a useful skill. Bows add decorative appeal to gift packages, floral arrangements, clothing, and many other items. The key to tying an attractive bow is symmetry – both loops of the bow should be even in size. Depending on the occasion or the style you are going for, there are many types of bows that one can tie with ribbon. Below is an overview of the basic steps involved in creating beautiful bows with ribbons that will help add a special touch to any event or use.
Tools and Materials Needed
To tie a bow with ribbon, you will need a few items to complete the task. Start by gathering your tools and materials. You will need scissors, a ribbon in your desired width and color, and a lighter or matches (optional).
Scissors
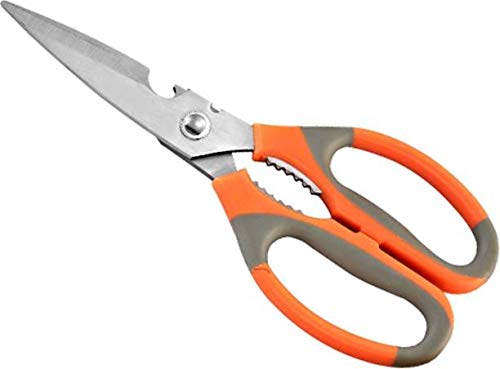
Choose scissors that are sharp and sturdy. If using a satin ribbon, make sure the blades are sharp enough to cut through the fabric without causing fraying.
Ribbon
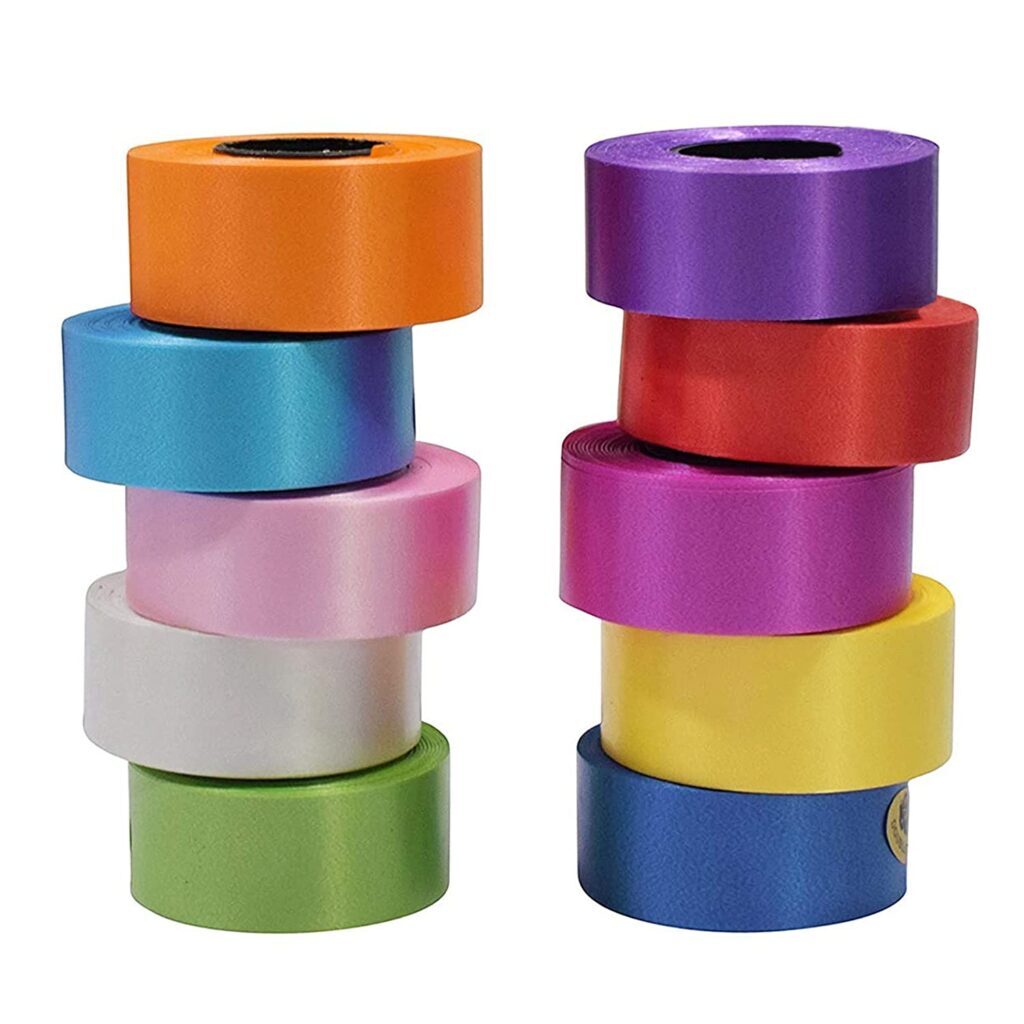
Choose the width of the ribbon based on the size of the bow you want, as well as what type of project you are creating (small for decorating cards, medium for gift tags or tags on small gifts, or thicker/longer pieces for wreaths). You can also choose from a variety of colors.
Lighter or Matchbox
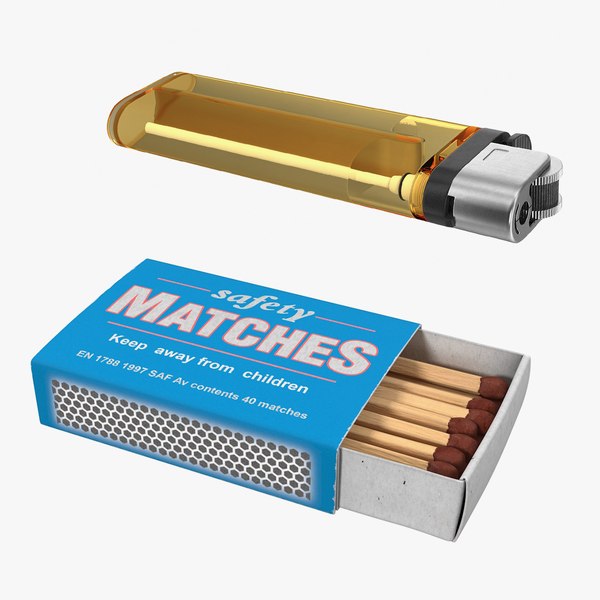
A lighter or matchstick is optional but can be used to seal the ends of the ribbon to prevent fraying at a later stage. If you choose not to use this method, extra precaution should be taken when tying knots since the loose ends could cause fraying when handled.
Step-by-Step Guide to Tying a Bow with Ribbon
Knotting a ribbon bow is a great way to accent an array of craft projects as well as gifts and packages. Bows can also be fashioned for nearly any decorating purpose, from holiday tree trimming to wall decorations or party and shower centerpieces. With a simple pattern, using the right materials, and the critical finishing touches, you can create beautiful bows with ease.
Steps To Follow:
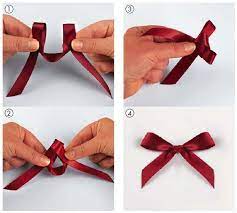
1. Cut two pieces of ribbon twice the length desired when finished. For example, if you need a 4-inch finished bow then cut your pieces 8 inches long (add 1 extra inch per side/tie). Make sure that both pieces are the same length.
2. Fold one end of each piece in by half an inch so they have a neat edge; this will form your ties. You can use needle and thread carefully to secure the fold if desired, but it’s not necessary unless you’re working with heavier ribbon material such as velvet or even burlap which unravels easily when cut into thin strips for tying want to use longer-lasting materials for decorative projects.
3. Take one piece of folded ribbon in each hand and tie them into a double knot around your fingers – one over the other – keeping the loops even in size on each side; you should now have four loops (two on each side). Securely tie off at the end with matching knot snug against it although without twisting too tight so there is still some play for adjusting size or shape later if desired once looped through itself we’re ready to check that all four tails are even length before proceeding further note: you may find that flipping ends/loops occasionally yields better results especially stiffer ribbons like taffeta silk satin etc also consider predetermining width/length size prior being too dependent on trying these endless adjustments while holding both pieces together until satisfied. This method may take time and practice, however, doing so more often helps yield faster quicker results when tying ribbons into perfectly shaped bows down the road!
4. Loop the smaller remaining sides through the middle hole created by crossing over the first pieces together place the end somewhat tucked neatly within the middle section forming “X” shape with a complete outline visible on the external layer securing firmly yet welcoming little give indicating pressure being applied correctly … ensure same three steps were followed otherwise gaps edges within faux knot occur leading broken look versus neat continuation forming beautiful bow!
Different Types of Ribbon Bows
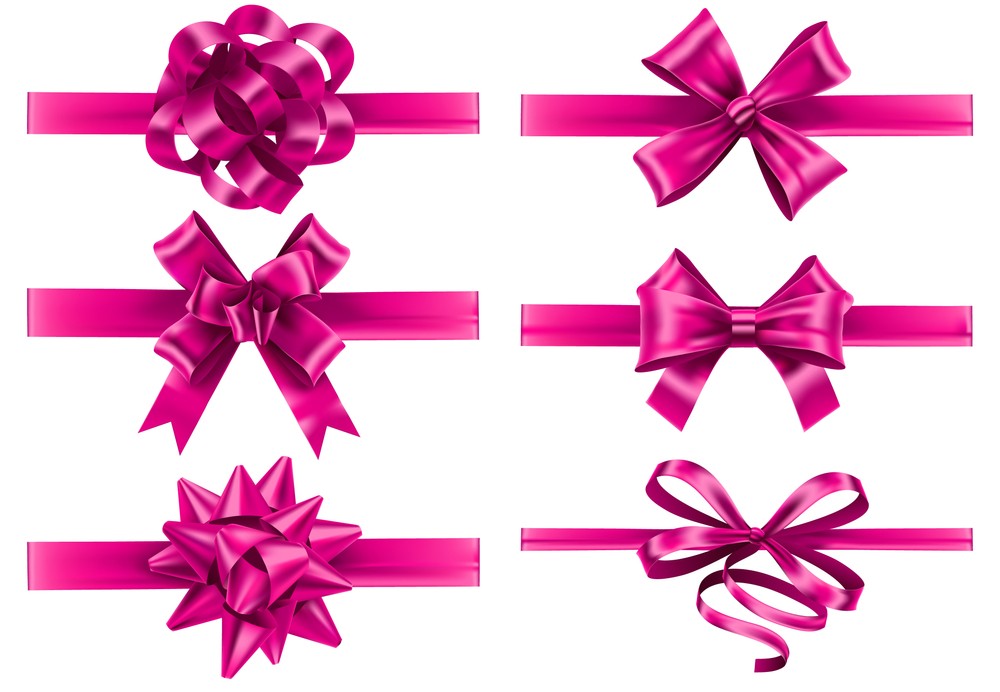
Ribbon bows are beautiful decorative accents that can add a unique touch to your projects or gifts. You can make ribbon bows in a variety of shapes and sizes, depending on the type of ribbon you choose. The materials may vary, but the basic principles remain the same for every type—start by weaving the ends together before knotting and looping them into shape.
Below is an overview of the different types of ribbon bows you can make:
Basic Bow
This is probably the most well-known type of ribbon bow. It’s created by making two loops and crossing them in the middle with a knot tucked in underneath. This bow looks great on simple ribbons like satin or grosgrain, but it can also be made with more ornate designs such as velvet or lace.
Looped Bow
Another popular style is the looped bow, which features one large loop as its centerpiece along with four more loops tied into place around it. This is usually done with wide ribbons, and they’re perfect for adding texture and dimension to gifts or craft projects.
Novelty Ribbon Bows
If you want something really unique, try using decorative novelty ribbons to create your bow shape. These often come in bright colors or patterned designs like polka dots or stripes for an eye-catching look. For example, pumpkin ribbon shapes are perfect for Halloween decorations, while shamrock shapes are great for celebrating Saint Patrick’s Day!
Tied Loop Bow
A tied loop bow has two symmetrical loops that come together at the center without any extra loops around them. This creates an interesting texture, especially when used with chiffon or tulle ribbon. It also requires fewer steps than other types of bows, so it’s easier to tie if you’re pressed for time!
Tips and Tricks for Tying a Bow with Ribbon
Whether you are decorating a wedding cake or wrapping a gift, you can use ribbon to add the perfect finishing touch. However, learning how to tie a bow with a ribbon goes beyond just knowing what type of knot to tie. Consider these tips and tricks for making beautiful bows for any occasion.
Start by finding the right ribbon for your project. There are many types of ribbons available, such as grosgrain, satin, and organza, and each one gives your bow its own unique look. Selecting the right color and pattern helps create eye-catching results; if you are tying multiple bows, it’s helpful to cut them all at once from one length of ribbon so they match perfectly.
When it comes time to tie the bow, use two pieces of ribbon — one longer than the other — that are approximately 10–12 inches long each. The longer piece creates the “tail” while the shorter one forms into loops or “ears” on each side (which will form into your bow). Fold both pieces in half over a pencil about two inches apart in order to hold their shape. Place them both aside momentarily while you make a simple knot with just one piece of string from both ends together; this serves as an anchor point (or stem) between your ears/loops. Then wrap the end tails securely around this stem several times before tucking them out of sight.
For double-loop bows, reshape each piece into a circle by hand; then pull on each end so they overlap just slightly in the center before tightening again with another anchoring knot or several turns with overlapping strands of twine/string for durability. You can also create larger bows by using additional pieces of string and overlapping in the center over single/double loop bases depending on the desired effect; repeating the same steps connecting pieces together until the desired width is achieved before adding ends and tightening in the center with tightly secured knots underneath layers at the backside (this should help keep bow shape intact). Finish off by fluffing up loop ends and checking that the knot anchors underlying layers firmly locked underneath the structure for durability!
Troubleshooting Common Problems
When it comes to tying a perfect bow with ribbon, there are a few tips and tricks for achieving success. If your knots keep slipping or you can’t seem to get a balanced-looking bow, here are some common problems and solutions you can use to troubleshoot:
Whether using wired or unwired ribbon, if the loops of your bow are too loose, you will need to tighten them up. To do so, pull on the center knot of your ribbon and cross the inside loops over one another as seen in the diagram. Then tightly retie the center knot and cut off any excess ribbon.
If your tail ends are different sizes, hold onto them on both ends while you twist in opposite directions like wringing out a towel (again see the diagram). This should help even out those ends so they’re more symmetrical.
Finally, if your bow looks lopsided because one end is larger than the other, try tightening just one loop of that side and then tying with that loop partially folded over – this should help keep it stretched out so it is less bulky at one end than at the other.
Creative Uses for Ribbon Bows
Ribbon bows can be a lovely addition to gifts, clothing, crafts, home décor, and more. There is no limit to the creative uses you can find for these simple knots — whether you’re tying it around your neck or attaching it to a present.
For a unique touch, add extra loops or vary the size of the loops when making your bow. You can customize ribbon bows with fun colors and patterns that coordinate with whatever item you’re decorating. Bigger bows create bigger statements, so if you like attention-grabbing accents, tie big ribbon bows for larger projects, such as wreaths or wrapping paper features. For smaller projects like gift cards or scrapbooks, take care not to overwhelm the item and opt for trim ribbons and simpler creations.
If you’re ever in need of an easy way to personalize any project with color and texture, look no further than ribbon bows! With very little skill required, almost anyone can make a basic bow and it’s easy to customize them in numerous ways. They look great on clothing too; use them as accents on sweaters in place of buttons or sew them along the hemlines of dresses — they’ll add some playful flair wherever they go!
Conclusion
Making a traditional bow with ribbon is an excellent way to adorn gifts, decorate packages, or embellish your hair. The finished product involves one large loop and two tails of ribbon that are arranged in a decorative shape.
The final steps in tying a bow with ribbon involve arranging the loops and tails in the desired shape and then securing them with double-sided tape, glue dots, or metal wire. Once secured, it will remain intact until removed. With some practice, you can become quite proficient at making bows in a variety of colors and sizes.
The end result is sure to impress recipients, friends, and family, and make any gift more special!
FAQs-
You May Like:
