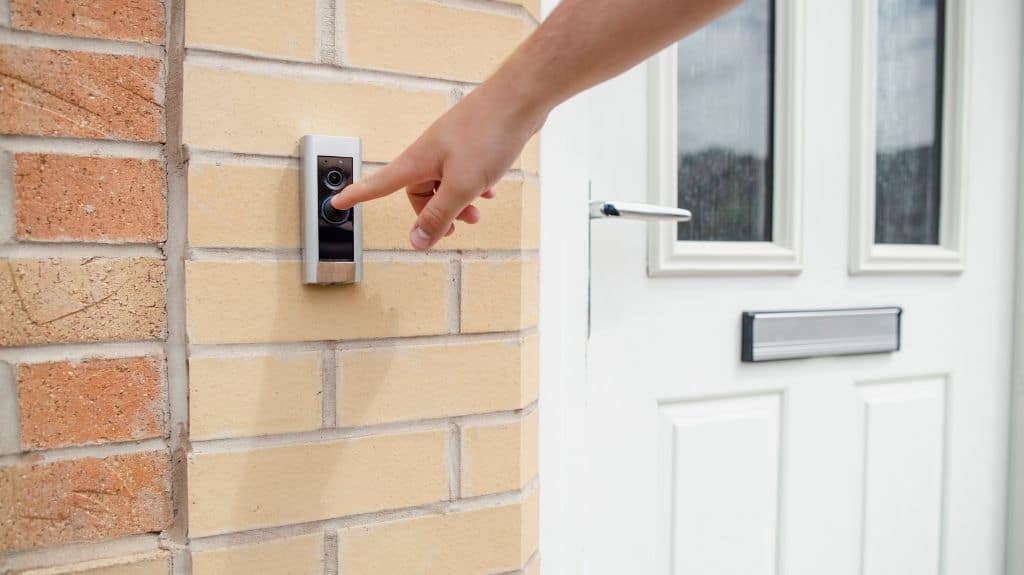
To enhance your home security and convenience, consider installing a Ring Doorbell. It is a smart device that enables you to view, listen, and communicate with individuals at your doorstep using your smartphone, tablet, or PC.
Additionally, it provides notifications for doorbell presses and motion sensor activations. In this post, we will demonstrate the straightforward six-step process for Ring Doorbell installation.
Regardless of whether you already have a doorbell installed, you can swiftly set up your Ring Doorbell and immediately reap its advantages.
With only 10 steps, you can set up a Ring video doorbell
Step 1: Gathering tools
While each Ring doorbell kit has its own set of accessories, they all include a screwdriver, screws, a charging wire (if needed), and installation instructions.
In addition to this, if you need to screw your Ring Doorbell into brick or stucco, you’ll need a drill. A special masonry drill bit is included with the Ring Video Doorbell 2 and Ring Video Doorbell Pro to make this portion easier. To assist you remove your old doorbell, we recommend having a box cutter or a flathead screwdriver on hand.
Step 2: Make sure the battery is fully charged
You can skip this step if you’re installing a Ring Video Doorbell Pro.
Locate the battery and connect it to electricity using the provided charging wire once your Ring has been unboxed. Because the Ring 2 is built for easy pop-out once the doorbell has already been mounted, we’ve discovered that getting the battery out can be difficult.
To remove it, we recommend holding it against a flat vertical surface (such as a wall). The battery is pushed out by the wall, and gravity helps it fall into your hand.
When you connect in your battery, you should notice a red and green light to indicate that it is charging. Be patient as charging can take up to six hours. The red light will turn off when the battery is fully charged, and you will have the green light to begin the installation.
Step 3: Connect to the internet
To connect your Ring Video Doorbell to your home’s Wi-Fi network, download the Ring app and follow the onscreen instructions. The app will lead you through the entire process, and it only takes around 10 minutes to get everything set up and connected.
Step 4: Turn off the power
Turn off the power to your doorbell at the breaker box (typically in the garage, basement, or at the back of your house). Because you’ll be dealing with exposed wiring, this is for your safety.
If you don’t already have a doorbell and won’t be dealing with wiring, skip this step. Because several Ring doorbell cameras run on batteries, hardwiring is not required.
Step 5: Dispose of the old doorbell
Remove the faceplate of your old doorbell with a screwdriver or boxcutter to reveal the screws. Remove the old doorbell from the wall by unscrewing it and carefully pulling it away, revealing the two power lines.
The doorbell wires should still be twisted around screws on the inside of the previous doorbell, so be careful not to tug too hard on them. Remove the old doorbell by loosening the screws and detaching the wires.
Step 6: Put the mounting bracket in place
The hole where your previous doorbell used to be, along with the two doorbell wires, should be the only thing left on your wall at this point. Open your Ring app and the doorbell’s live video stream before you install your mounting bracket.
Hold your Ring Doorbell against the surface above the hole where you’ll attach it, and check the picture on your phone to make sure you’re getting the angle you want. If you aren’t, now is the time to tilt the camera up, down, left, or right with one of the angled mounting brackets.
Once you’ve settled on a location, make sure the mounting bracket is straight using the provided level tool, then mark the location for the new screw holes with a pencil. Remove the level once they’ve been marked.
If you’re using an angled mount, screw it into the wall first, then attach the mounting bracket. Otherwise, screw the mounting bracket to the wall directly over the hole left by your previous doorbell, allowing the wiring to pass through the bracket’s hole.
Note: If you’re installing on brick or stucco, you’ll need to drill holes for the small white plastic anchors that keep the screws in place with the provided masonry bit. Drill the holes in the marked positions, then press the anchors in, place the mounting bracket on top, and screw the mounting bracket screws into the anchors. Don’t worry about utilising the anchors if you have wood or vinyl siding.
If you use too many screws to secure the mounting bracket, it may bend, making it difficult to snap your Ring Doorbell into position.
Step 7: Connect the wires for the doorbell (optional)
You can now join those two doorbell wires to your Ring if you want to connect it to your present doorbell chime to extend its battery life or make it ring when a visitor presses the doorbell button.
You can skip this step if you don’t already have a doorbell. To have a conventional doorbell experience, make sure you get a Ring Chime. Otherwise, phone notifications will notify you when someone is at the door.
To begin, unscrew the two screws on the mounting bracket that are directly over the opening where the wiring protrudes from the wall. Then wrap one wire around each screw—it doesn’t matter which one, as long as the wires don’t touch. Make sure each one is securely attached to the screw. If necessary, gently tighten the screws. Congratulations! You’ve completed the circuit now.
Note: If you have a digital doorbell chime (one that creates a two-toned electronic sound rather than the classic “ding dong” chime), now is the time to install the accompanying diode. For further details on this stage, consult your installation instructions.
Step 8: Install the Ring doorbell
We’ve arrived at the most exciting section of the story. Place your Ring Video Doorbell right above the bracket and push it in until it clicks into place. It’s fine to apply a little force to this stage.
Step 9: Re-establish power
It’s time to re-energize your gadget by flipping the breaker switch. Go ahead and test it to ensure that everything is in working order. Remove the faceplate and double-check that your connections are secure if your Ring Video Doorbell is wired to your interior chime and it isn’t sounding. (If you have a digital chime, now is also a good time to reverse your diode if it has to be reversed.)
If everything appears to be in order, use the little end of the accompanying screwdriver to screw the two included security screws into the bottom of the faceplate.
Step 10: Customize the app’s settings
The installation of your Ring Doorbell is now complete. You can now experiment with features, set your motion detection and night vision settings, choose what types of notifications you want, and specify which locations your camera should cover using the Ring app.
