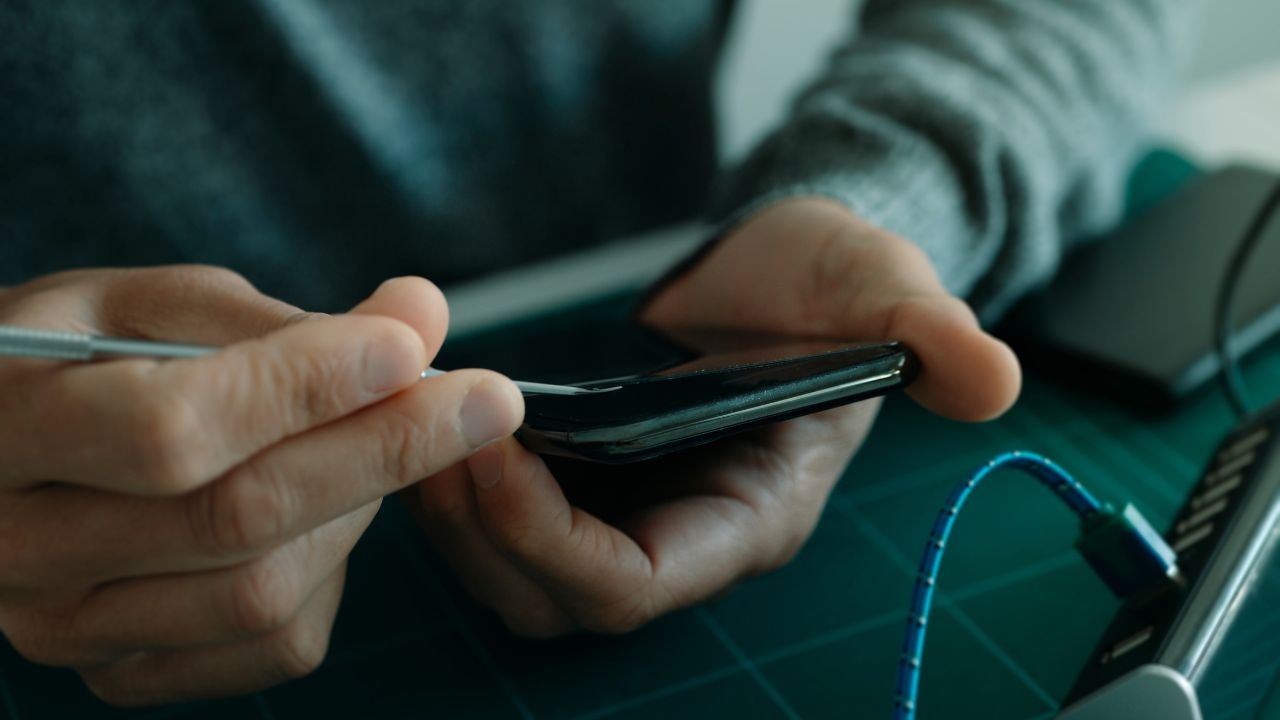
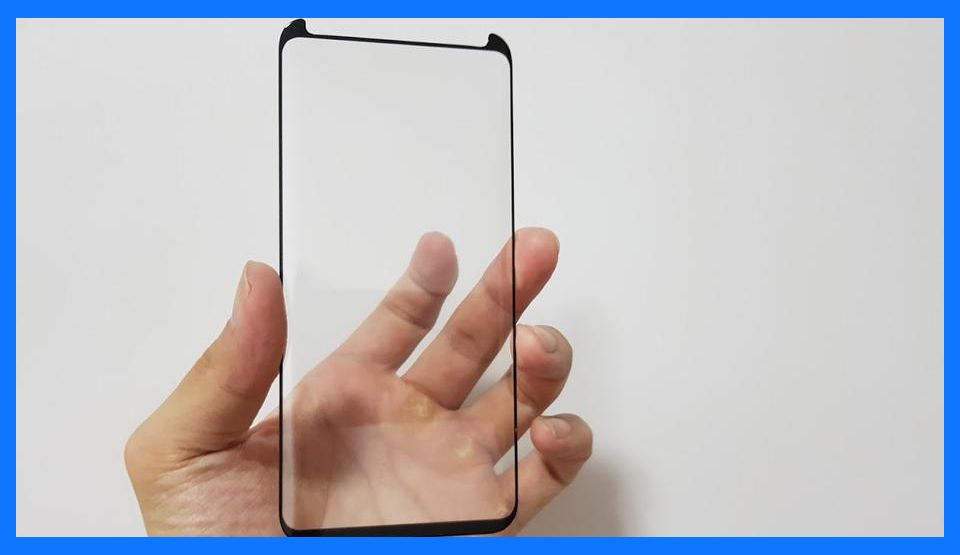
Screen protectors are great accessories for electronic devices, but cleaning them can be a daunting task, especially on the sticky side. In this article, we will give you a guide on cleaning the sticky side of a screen protector step by step. To restore the adhesive base of the coating, you’ll require some cleaning tools including stickers or stationery tape, a lint-free cloth, an alcohol wipe or disposable napkins soaked in alcohol, a dry wipe, a wooden toothpick, and a UV gel.
Step-by-Step Guide for Cleaning the Sticky Side of a Screen Protector
Here’s a step-by-step guide on how to clean the sticky side of a screen protector:
Step 1: Collect the Necessary Cleaning Tools
Firstly, you need to gather all the necessary cleaning tools, which include stickers or stationery tape, a lint-free cloth, an alcohol wipe or disposable napkins soaked in alcohol, a dry wipe, a wooden toothpick, and a UV gel.
Step 2: Prepare a Place for Cleaning
It’s essential to prepare a clean and dust-free area for cleaning the screen protector.
Step 3: Degrease Your Hands
Degrease your hands with an antiseptic or soap before handling the screen protector to avoid transferring oils and dirt to the adhesive base.
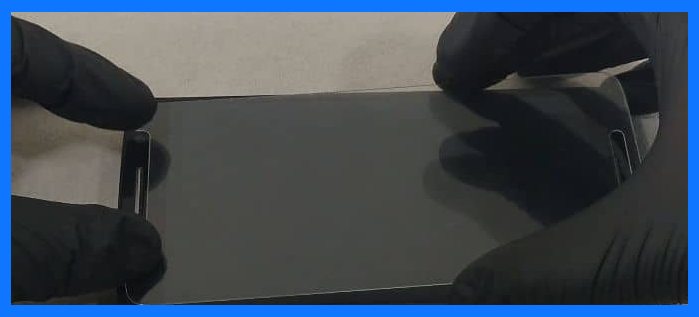
Step 4: Lift the Tempered Glass Screen Protector
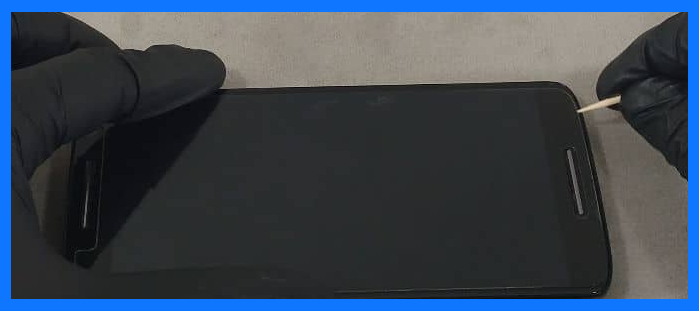
To lift the tempered glass screen protector, utilize a wooden toothpick or a sharpened match. Exercise caution to prevent any harm to the protector.
Step 5: Remove Dust or Debris
If there’s dust or debris on the screen protector, use sticker/stationery tape or wipe it off with a lint-free cloth. If the debris is firmly attached to the adhesive base, proceed to step 6.
Step 6: Remove the Screen Protector
Take off the screen protector from the device in case the garbage firmly adheres to the adhesive base.
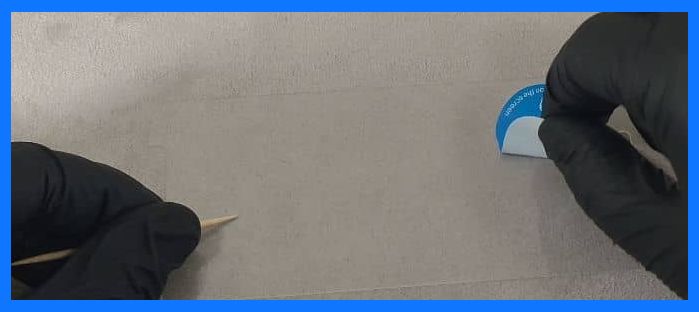
Step 7: Place the Screen Protector on a Flat Surface
Put the screen protector on a level surface, ensuring that the adhesive base is facing upward.
Step 8: Hold the Screen Protector
Hold the screen protector with an alcohol wipe or a wooden toothpick to avoid transferring oils and dirt to the adhesive base.
Step 9: Remove Dust Particles
To eliminate dust particles, use stickers or duct tape. Press down the sticker, then slowly peel it off. Repeat this process several times until the coating is clean.
Step 10: Use an Alcohol Wipe for Stubborn Dirt
If the garbage accumulated on the edges cannot be cleaned with stickers, use a second alcohol wipe.
Step 11: Clean the Debris Outside the Screen Cover
Hold the screen protector with one cloth and clean the debris outside the screen cover with the other.
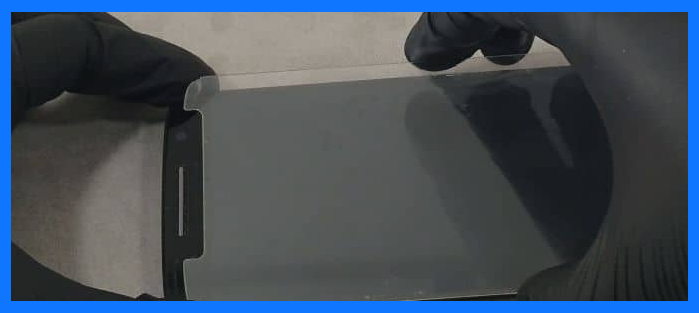
Step 12: Install the Screen Protector
Once the sticky side of the screen protector is clean, you can install it back on the device.
In particularly difficult cases, when the glass has fallen to the floor and got dirty before installation, you may need to wash the glass under running water. In this situation, you must hold the glass in your hand’s palm using one hand and cleanse the sticky side using the other hand.
Tips to Keep Your Screen Protector Clean
Here are some tips to help keep your screen protector clean:
1. Wash Your Hands Before Handling Your Device
Before handling your device, make sure to wash your hands thoroughly with soap and water. Oils and dirt from your hands can transfer onto the screen protector, which can affect its adhesive base and cause it to lose its stickiness.
2. Avoid Using Your Device in Dirty or Dusty Environments
Using your device in dusty or dirty environments can lead to the accumulation of dust and dirt on the screen protector, making it harder to clean and affecting its stickiness. Avoid using your device in such environments, or use a protective case to prevent dust and dirt from getting on the screen protector.
3. Clean Your Screen Protector Regularly
Cleaning your screen protector regularly can help maintain its quality and stickiness. Use a soft, lint-free cloth or the recommended cleaning tools to clean the screen protector gently. Avoid using harsh chemicals or abrasive materials that can damage the adhesive base of the coating.
4. Use a UV Gel to Restore the Adhesive Base
Over time, the adhesive base of the screen protector may lose its stickiness. To restore the adhesive base, you can use a UV gel designed for screen protectors. Apply the gel to the adhesive base and expose it to UV light for a few minutes to restore its stickiness.
5. Replace Your Screen Protector When Needed
Screen protectors are designed to provide protection for a certain period. Over time, they may wear out and lose their protective qualities. When you notice that your screen protector has scratches, cracks, or signs of wear and tear, it’s time to replace it with a new one to ensure continued protection.
Final Thoughts
To sum up, cleaning the sticky side of a screen protector may pose a challenge, yet it’s feasible with proper tools and techniques. It’s crucial to adhere to the recommended cleaning methods and tools to prevent harming the adhesive base of the coating. Bear in mind our tips, including washing your hands prior to handling your device, avoiding dusty or dirty surroundings, and applying a UV gel to restore the adhesive base. By following these guidelines, you can maintain a clean screen protector and guarantee ongoing protection for your device’s screen.
