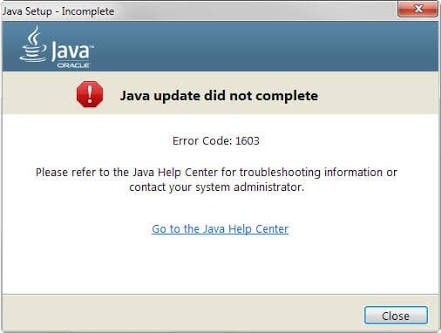
Java error code 1603 is an occasional error that usually occurs after updating Java in Windows 10. You are very likely to face this error with an error message that goes like “Java install did not completely error code: 1603.”
Basically, it signifies that the Java update isn’t installed. The entire situation can be pretty annoying and needs to be fixed immediately. We have come up with around 9 solutions that would positively resolve the error for you.
What can cause Java Error Code 1603?
Before moving on to the solutions, it is extremely important to know the reasons behind such problems. To be precise, we have listed some of them for you one by one below.
- Installing 64-bit Java on a 32-bit system
- Previous java versions
- Anti-virus software
While the causes behind this error code are many, these were some. No matter what the causes behind this error are, we are going to list the solutions in the next section.
Simple Ways to Fix Java Error Code 1603:
There are various solutions that will help you to overcome such circumstances. Thus, we recommend you implement each of them one by one and check which one works for you. Here we have listed some of them below.
Solution 1: Check If Its the Correct Java Version
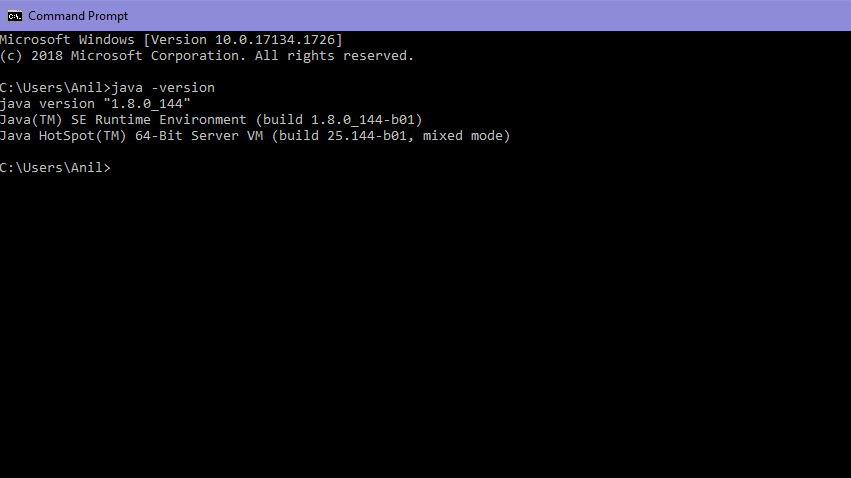
As mentioned earlier, many times you can encounter this error if you have installed 64-bit Java on a 32-bit system. Thus, it is important to check if the system is 32 or 64-bit. To do so, follow the steps mentioned below.
- First of all, press the Windows 10 Cortana task button and then type “system” within the search box.
- Now, click on “About Your PC” so that you can open the window. Now, move on to the System type specification which signifies if the platform is 64 or 32 bit.
Solution 2: Install Java as an Administrator
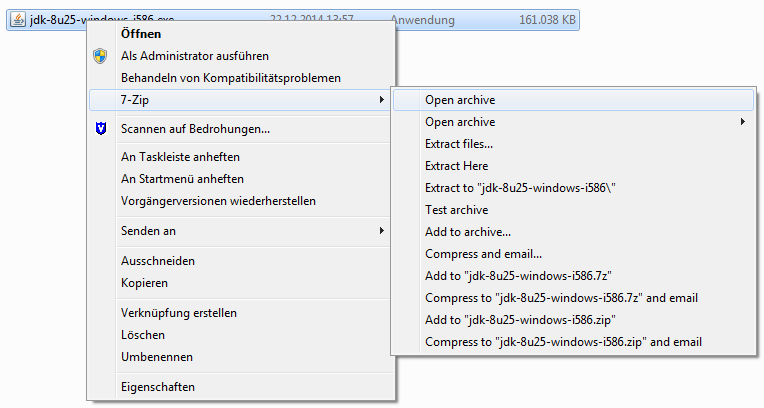
Another way by which you can resolve this error is by installing the software as an administrator. Thus, make sure to install the current Java version as administrator and see if it has helped you. Here is how you can do so.
- Right-click on the latest Java installer and then run it as an administrator.
- This will start the Setup Wizard for you.
Follow the next solution if this does not help you.
Solution 3: Turn Off the Antivirus Software
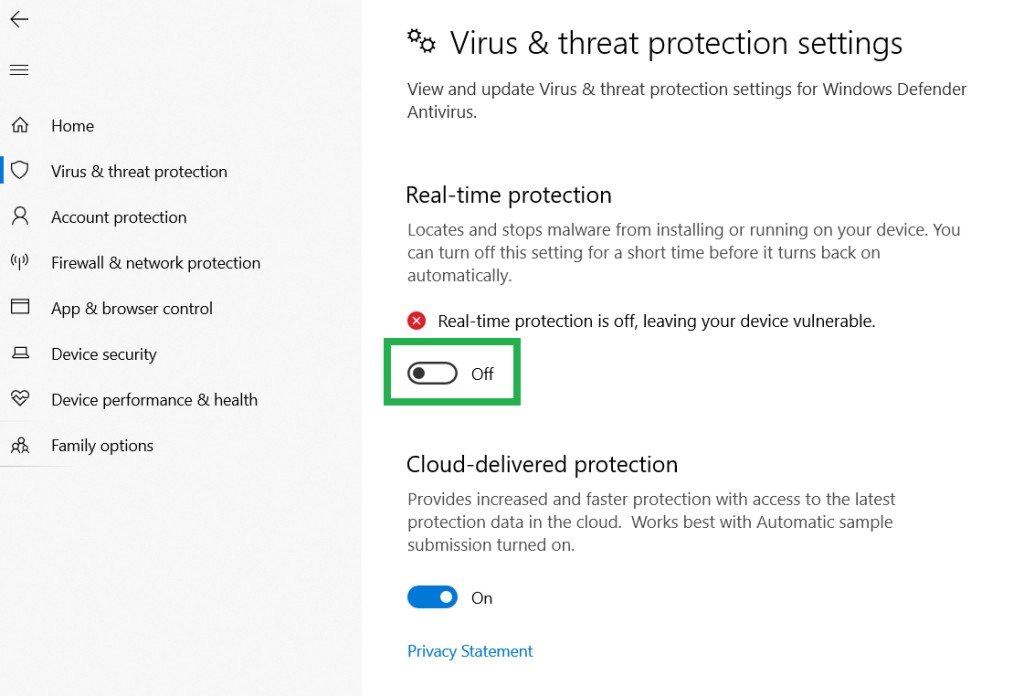
There are chances that you might be suffering from such an error due to any anti-virus software. Thus, it is important to temporarily disable the software and see if it helps. This is how you can perform this solution easily through the Task Managers Startup tab.
- First of all, open the Task Manager by clicking Ctrl+Shift+Esc.
- Go to the Startup tab and then choose the Antivirus software
- Click on “Disable” to remove it from the startup and install the Java application after performing a reboot.
Solution 4: Remove the KB2918614 Windows Update
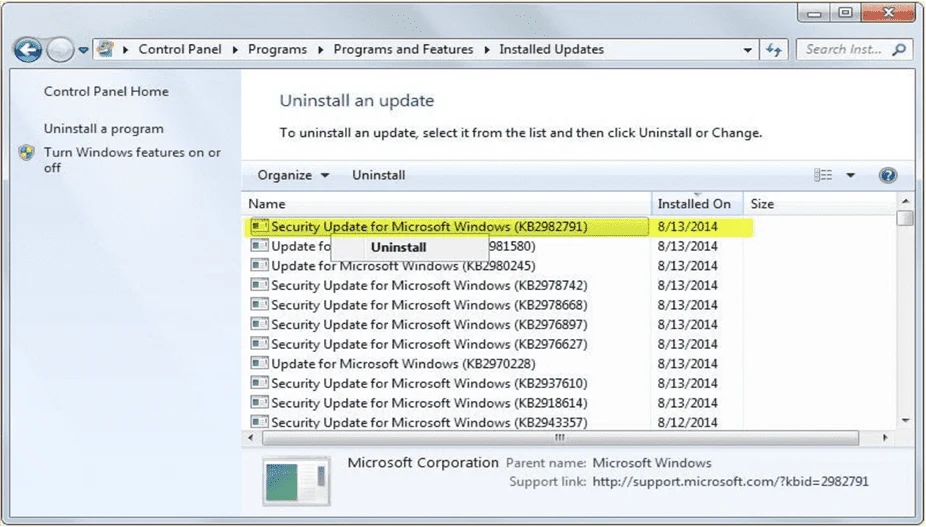
Besides, there is also the possibility that you are facing this issue due to KB2918614 Windows Update and removing it must resolve the error for you. Here is how you can do so.
- Press both Windows+ R keys together to invoke the Run window.
- Now, type appwiz.cpl within the Run box and then click on Ok.
- Click on “View Installed updates” situated on the left side of the Control Panel to open the Windows updates list.
- Type KB2918614 within the search box and then click on the KB2918614 update. After that, select the Uninstall button. Restart your system after performing this step.
Solution 5: Close your Browser and Software Running Java
There are chances of confronting this issue due to programs that are running Java. Thus, if such is the problem, then close all the software windows on the Taskbar and check if any other third-party software is present within the system tray as well. If it is then making sure to close it as well. After doing this, make sure to check if the error got resolved or not. If it did not, then move on to the solutions mentioned after this.
Solution 6: Disable Java Content
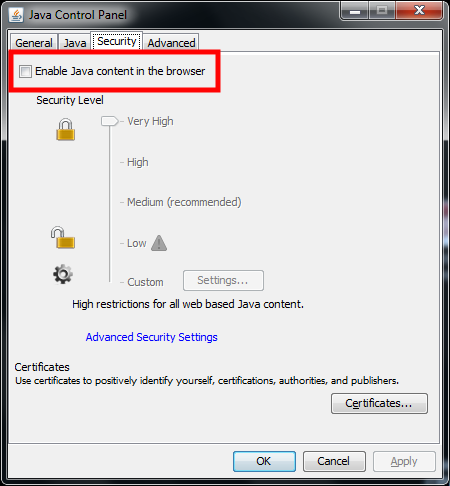
Besides the solutions mentioned above, you can also try to fix this error by disabling all the Java contents through Control Panel. This is because it has helped a lot of users in fixing the error and hopefully it will help you as well. Therefore, follow the steps given below to disable Java content.
- First of all, press both Windows + R keys together to invoke the Run window and then type “control panel” within it. Now, press Return to initiate a window.
- Click on Java to open the Control Panel and then click on the Security tab on the Java Control Panel.
- Now, uncheck the “Enable Java Content in browser” option if it is checked marked
- Click on Apply>Ok.
- Choose the Enable Java content in browser option again once the Java gets updated.
Solution 7: Logmein Users
Also, there are chances of encountering this error if Java is installed through LogMeIn. Thus, it will be better to get rid of the LogMeIn if it is the reason behind the occurrence of this error. Further, eliminate the LogMein and check if the problem gets resolved or not. Now, install the Java PC without the Logmein and check if the error appears again or not.
Solution 8: Uninstall the Old Java Versions
If the solutions provided above do not work for you, then make sure to uninstall the old Java versions and then install the new Java package. Here is how you can perform this step easily.
- Go to Start and then go to Control Panel. After that, go to “Programs and Features”.
- Now, select the Java package and then click on the Uninstall button. Restart the system after doing so.
- After a successful uninstallation of old Java versions, download the new version of Java by visiting their official website
Solution 9: Run a Scan for Virus
Almost all errors are correlated with some kind of malicious files or viruses. Thus, make sure to run a scan for both and see if that resolves the error for you. Now, you can do it either by a third-party antivirus tool or the inbuilt antivirus tool of Windows called Windows Defender.
Here we have mentioned the entire process to run a virus scan through Windows Defender below thoroughly.
- Click on the Start menu and then type Defender in the search box. Within the search result, click on Windows Defender to launch it.
- Now, you will see a message that says this application has been turned off and isn’t monitoring your computer. If you do, then search for Action center within the search bar of the Start menu.
- Within the Action Center, click on the Security tab to look at the programs that are selected for the Spyware and Unwanted Software Protection. However, if you want to replace any third-party antivirus tool with Windows Defender, then uninstall it by going to the Programs menu situated within the Control Panel.
- For Windows 10 users, go to Control Panel and then to “System and Security”. Now select “Security and Maintenance” from there. After that, select Windows Defender from the “Spyware and Unwanted Software Protection” section.
- Now, go to Start again and then type “defender” within it. Look for Windows Defender from the search results and then click on it. If the Windows Defender is turned off, then you will see an option stating “Click Here To Turn It On”. Click on it so that Windows Defender can get enabled.
- Windows Defender will be able to fix the error if it is correlated with any kind of virus or malicious files.
We hope that the solutions mentioned above would be able to fix this Java error code 1603 for you easily.


