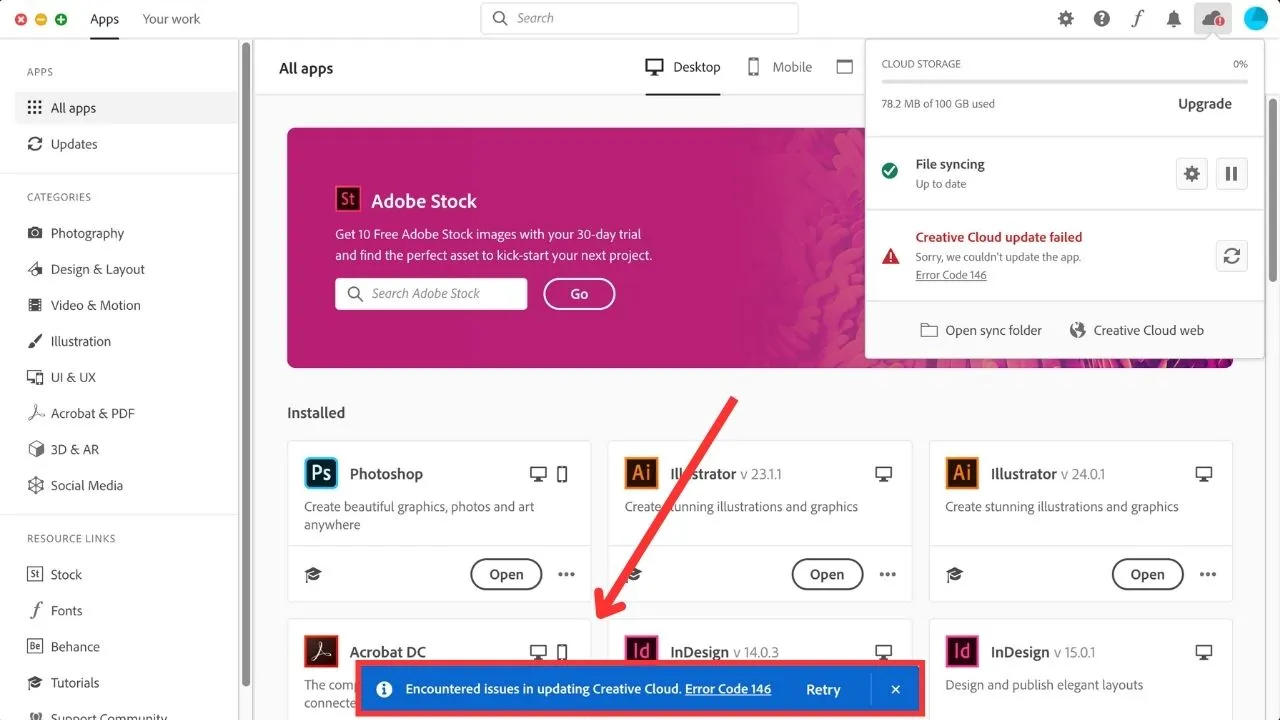
Adobe Error 146 is a common issue that occurs when you try to update or install Adobe Creative Cloud applications on your Windows PC.
This error indicates that some files or folders are missing or damaged in the installation directory.
It can also be caused by a firewall or antivirus interference, an outdated Creative Cloud version, or a corrupted Windows registry.
In this article, we will show you how to fix Adobe Error 146 with five easy methods.
Causes of the Adobe Error 146
The main cause of Adobe Error 146 is that some files or folders are missing or damaged in the installation directory of Adobe Creative Cloud.
This can happen due to incomplete or interrupted installation, accidental deletion, virus infection, or disk corruption.
Another possible cause is that your firewall or antivirus software is blocking the connection between Creative Cloud and Adobe servers. This can prevent the update or installation process from completing successfully.
A third possible cause is that your Creative Cloud version is outdated and incompatible with the latest Adobe applications. This can result in compatibility issues and errors.
A fourth possible cause is that your Windows registry is corrupted or contains invalid entries related to Adobe Creative Cloud. This can affect the performance and functionality of the software.
Fixes for Adobe Error Code 146
To fix Adobe Error 146, you need to perform the following methods in order:
Fix 1: Upgrade Creative Cloud to the Latest Version
The first method to fix Adobe Error 146 is to upgrade your Creative Cloud to the latest version. This can resolve any compatibility issues and errors that may occur due to outdated software. To do this, follow these steps:
- Launch Creative Cloud on your PC and sign in with your Adobe ID and password.
- Click on the gear icon at the top right corner and select Check for App Updates.
- Wait for Creative Cloud to scan for available updates and install them automatically.
- Restart your PC and try to update or install your Adobe applications again.
Fix 2: Temporarily Disable Firewall or Antivirus
The second method to fix Adobe Error 146 is to temporarily disable your firewall or antivirus software.
This can prevent any interference or blockage that may occur during the update or installation process. To do this, follow these steps:
- Locate your firewall or antivirus icon on the system tray and right-click on it.
- Select Disable or Turn Off from the menu and choose the duration of the disablement.
- Alternatively, you can open your firewall or antivirus settings and disable the protection features manually.
- Try to update or install your Adobe applications again and see if the error is resolved.
- Remember to enable your firewall or antivirus software after completing the process.
Fix 3: Delete the Prevailing Damaged Files
The third method to fix Adobe Error 146 is to delete the prevailing damaged files in the installation directory of Adobe Creative Cloud.
This can remove any corrupted or missing files or folders that may cause the error. To do this, follow these steps:
- Open File Explorer and navigate to C:\Program Files (x86)\Common Files\Adobe\OOBE.
- Delete the PDApp folder and all its contents.
- Navigate to C:\Program Files (x86)\Common Files\Adobe\Adobe PCD.
- Delete the cache folder and all its contents.
- Empty the Recycle Bin and restart your PC.
Fix 4: Design Required Directory
The fourth method to fix Adobe Error 146 is to design the required directory in the installation directory of Adobe Creative Cloud.
This can create the missing files or folders that may be needed for the update or installation process. To do this, follow these steps:
- Open File Explorer and navigate to C:\Program Files (x86)\Common Files\Adobe\OOBE.
- Right-click on an empty space and select New > Folder.
- Name the folder PDApp and press Enter.
- Right-click on the PDApp folder and select Properties.
- Go to the Security tab and click on Edit.
- Select Everyone from the Group or User names list and check Full control under Allow in the Permissions for Everyone section.
- Click on Apply and then OK to save the changes.
Fix 5: Download and Install Windows Updates
The fifth method to fix Adobe Error 146 is to download and install Windows updates.
This can fix any bugs or glitches that may affect the functionality of Adobe Creative Cloud. To do this, follow these steps:
- Click on the Start button then select Settings.
- Next, choose Update & Security and then select Check for updates.
- Allow Windows to scan for available updates and initiate automatic downloading.
- Restart your PC and proceed with the installation of any prompted updates.
Conclusion
Adobe Error 146 is a common issue that can be fixed with five easy methods. You need to upgrade Creative Cloud to the latest version, temporarily disable the firewall or antivirus, delete the prevailing damaged files, design the required directory, and download and install Windows updates.
By following these methods, you can resolve Adobe Error 146 and enjoy your Adobe applications without any hassle.


