The last two decades have seen an increase in the importance of three-point shooting on the perimeter in the NBA. A lot of players’ success on the court has come from improving their shooting from mid or long-range.
It does not just point guards; even power forwards and centers, who were once supposed to dominate the paint, now spend a disproportionate amount of time manning the 3-point line.
The perimeter shot is an essential offensive tool in NBA 2K22. Even more so if the hallmarks of your player archetype emphasize primarily extra-perimeter scoring.
If you are having trouble making your jump shots or want to be the best shooter in the league, you need to master the art of making the perfect jump shot animation.
I’m going to break down the three most effective jump shots in NBA 2K22 and show you how to use them. I’ve based these off of my own time spent grinding the game.
I’ve tried and researched user-made builds online to determine the optimal 2K22 jump shot for a variety of play styles on both current-gen and next-gen consoles.
Basics Jumpshot Animation
Before we get into how to tweak your jump shot, let’s talk about why that’s important, to begin with. Since then, great shooters like Stephen Curry, Ray Allen, and Kyrie Irving have all had their likenesses animated for usage in this method.
While those jump shots animations may look cool, they may not be the best fit for your play style and character. You won’t be able to select a “perfect” construction that suits your shooting style instead will have to adapt to the one you pick.
To elaborate, the time you have to hit the zone in the shot meter will decrease if you equip Curry’s jumpshot animation. The two-time Most Valuable Player is so feared because of his lightning-fast shot.
That’s why it’s best to tweak the animation’s shot meter timing to match your personal preference.
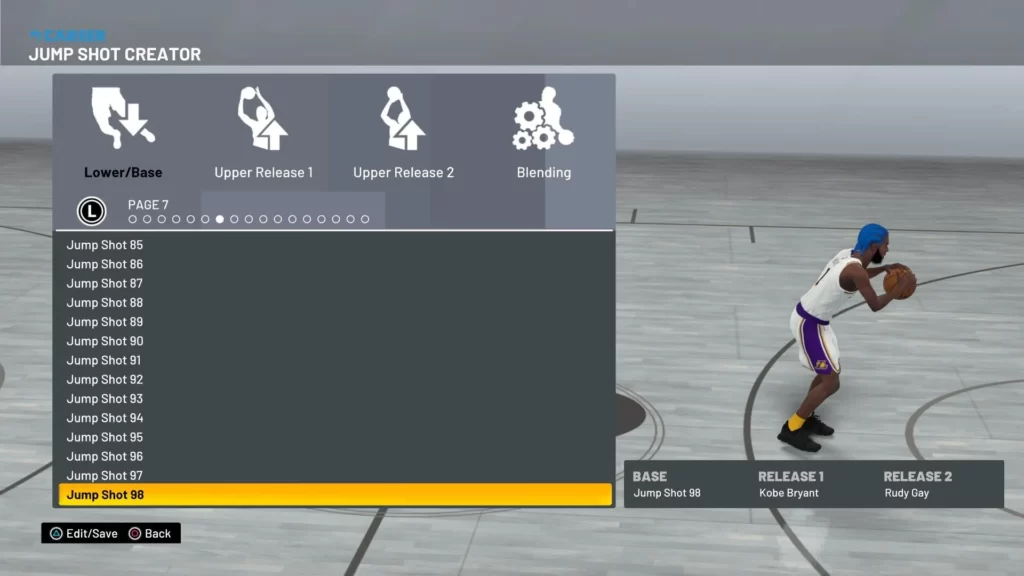
The following details how to use the various features of the Jump Shot Creator to design your own jump shot.
Lower/Base – The player’s body angle, the duration of the pre-jump action, the direction and height of the jump, and the timing of the shot all depend on the player’s base, or lower, position.
Upper Release 1 – This controls the location and direction of the hand’s release of the ball during the shots follow-through.
Upper Release 2 -To combine different shot release animations, use Upper Release 2 in conjunction with the previous option. Upper Releases 1 and 2 can be kept completely apart from one another by going with the same option.
Blending: Blending lets you customize how much of each upper release type is used in the final animation and how quickly the ball is released throughout the shot.
Best Jumpshot for Any Player Build:
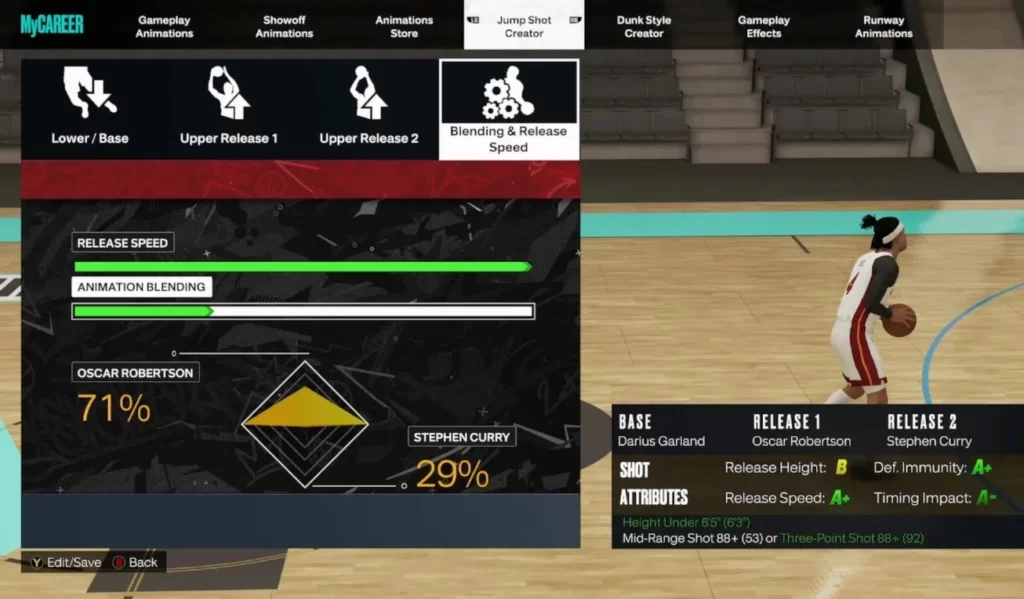
- Lower base = Jump Shot 98
- Upper release 1 = Rudy Gay
- Upper release 2 = Rudy Gay
- Blend = N/A
- Release Speed = 0%
The Jump Shot 98 has been a fan-favorite lower base in all versions of NBA 2K. It’s ideal for both short and long jumpers, and for players of any position.
I think the Rudy Gay jumpshot style is the best for any sort of player. This is the ideal animation to use when you need to stop quickly, and it’s also the easiest to learn. Changes to Upper Release 2 can be made at your discretion. If you can’t get your hands on the LaMarcus Aldridge or Kobe Bryant cartoons, Rudy Gay’s will do just fine.
So that there is no need to rush while letting go of the shutter button, I set the release speed to zero. However, you can up the speed if you’d rather have a rapid release.
Best Jumpshot for Easiest Green Shots:
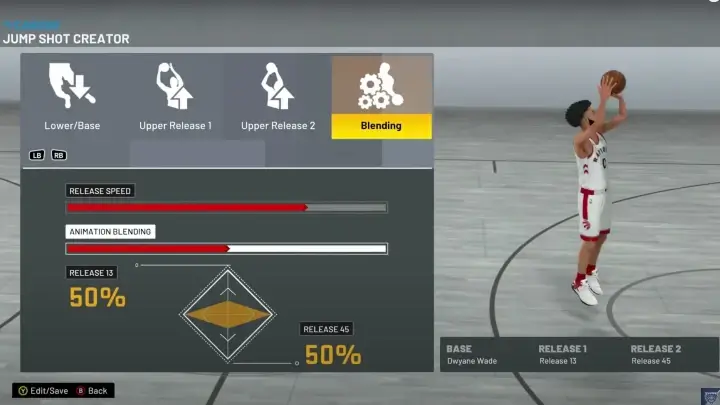
- Lower base = Jump Shot 53
- Upper release 1 = Release 58
- Upper release 2 = Release 138
- Blend = 50/50
- Release Speed = 50%
Make use of the jump shot maker by creating an animation that will assist you in hitting the shot meter more consistently.
Assign Jump Shot 53 to the lower base, Release 58 to the higher release 1, and Release 138 to the upper release 2 for the simplest possible jumpshot to green. Even if the resulting jump shot isn’t the most aesthetically beautiful, using one of these styles will cause visual defects in the shot animation that will help you keep track of exactly when to release the ball.
Best Jumpshot for Quick Release
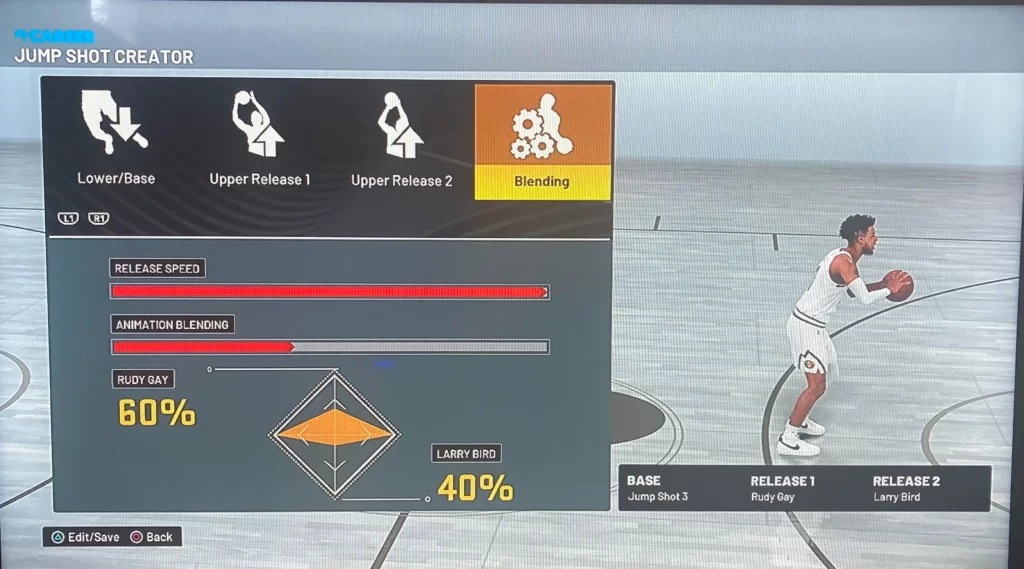
- Lower base = Dwyane Wade
- Upper release 1 = Rudy Gay
- Upper release 2 = Release 146
- Blend = 60/40
- Release Speed = 100%
Building a jump shot with a fast release speed has many benefits. When defenders have a chance to close out, there is less of a risk of being blocked by opponents or having the shooting percentage reduced.
When it comes to jump shot animations, Dwyane Wade’s lower base is one of the quickest releases you’ll find. As a result, a 60/40 mixture of Rudy Gay and Release 146 can be used for both upper release 1 and upper release 2. The ensuing jumper will have a short vertical and lightning-fast reflexes.
Quick tips to Improve Your Jumpshots in NBA 2K22
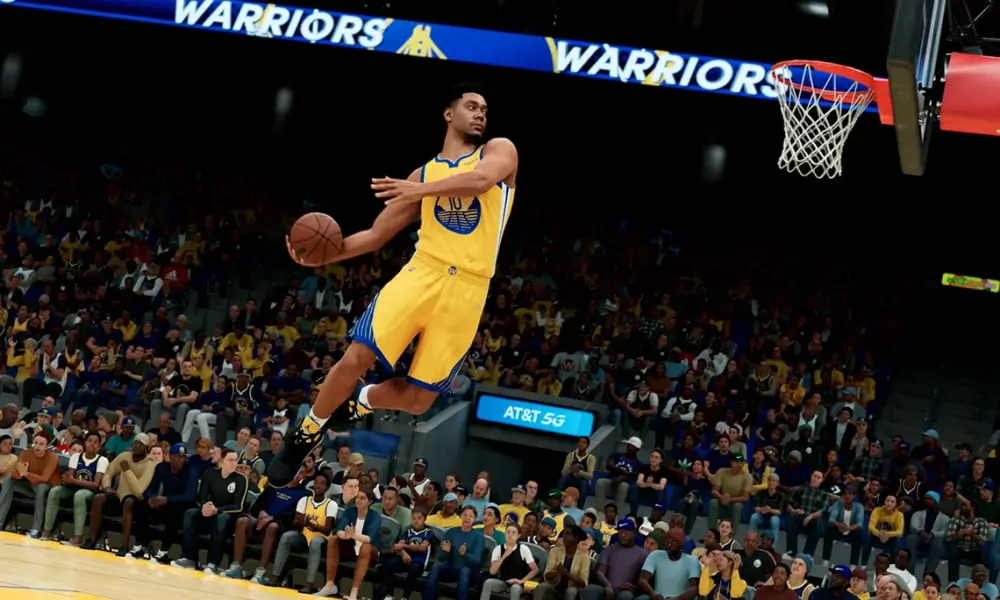
NBA 2K22’s jumpshot mechanics are a bit off at first, making it tough for new players to get good at them. Even more so if your marksmanship skills are still low. But there are many methods to enhance precision while out in the field.
The timing of your preferred jumpshot must be perfected first. There is no lasting consequence for attempting and missing a large number of jump shots at the Team Practice facility.
Be as deliberate as possible in your shot selection during games. To do this, wait until your player is well away from the opposition before firing.
Another useful tactic is to focus your fire on your hotspots. One of the keys to being a top shooter in NBA 2K22 is mastering the art of finding hot zones.
Having the proper shooting credentials is also useful. Deadeye and Volume Shooter are two badges that can be unlocked quickly if you spend your points on them.
The Perfect Settings to Make the NBA 2K22’s Best Jumper
It is essential to alter the default configuration to something more suitable for your needs. The following parameters should be used when playing the jumpshots.
Vibration On
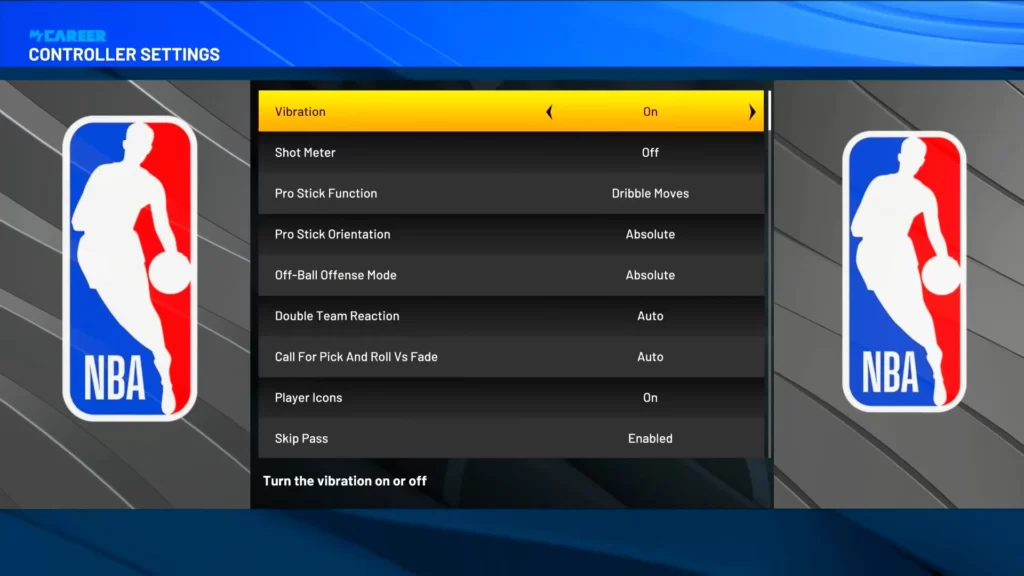
Activating the vibrator is essential for a solid jump shot. Many better players use that. It helps you become more immersed in the world of Jumpshots by warning you of certain aspects of the game you may otherwise miss.
Shot Meter-off
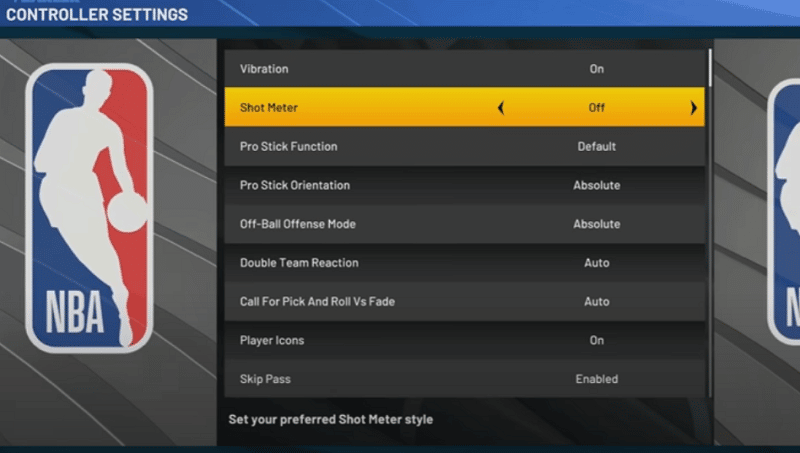
There are benefits and drawbacks to triggering the shot clock, although the benefits are more substantial. If you’re just starting out, a shot metre can be quite beneficial; but, turning it off will give you a green window that will allow you to make excellent jump shots. Since most of you are probably already familiar with 2k22, the ideal approach to play is to disable the shot metre and rely on your own knowledge and intuition to produce the most effective jump shots. Players started preferring to turn the shot metre off from 2k20.
Summary
NBA 2K22 is built with the capability of making the best jump shots as a primary focus. To play the best jump shots, a player must work hard and achieve many different things.
By itself, it’s a fantastic approach. Players can improve their jump shots with the help of perks, badges, and practise. When compared to other sports, it is very unique.

